Connect Shopify
Quick answer
Create a custom app in the Shopify Dev Dashboard, give it the listed scopes, release it and install it on your store. Then enter your store domain, Client ID and Client Secret in Settings → Marketplaces → Channels, select Test Connection and then Save Connection.
What do I need before I start?
- Access to your Shopify admin.
- The Owner or Admin role in your Shopfront workspace.
- A custom app, which you create below. It gives you the Client ID and Client Secret Shopfront connects with.
Don't use a legacy Admin API token
Shopfront does not accept a legacy Admin API access token that starts with shpat_. Create the custom app below instead.
How do I create the Shopify app?
Open your Shopify admin. Log in at https://admin.shopify.com/store/{your-store-name}.
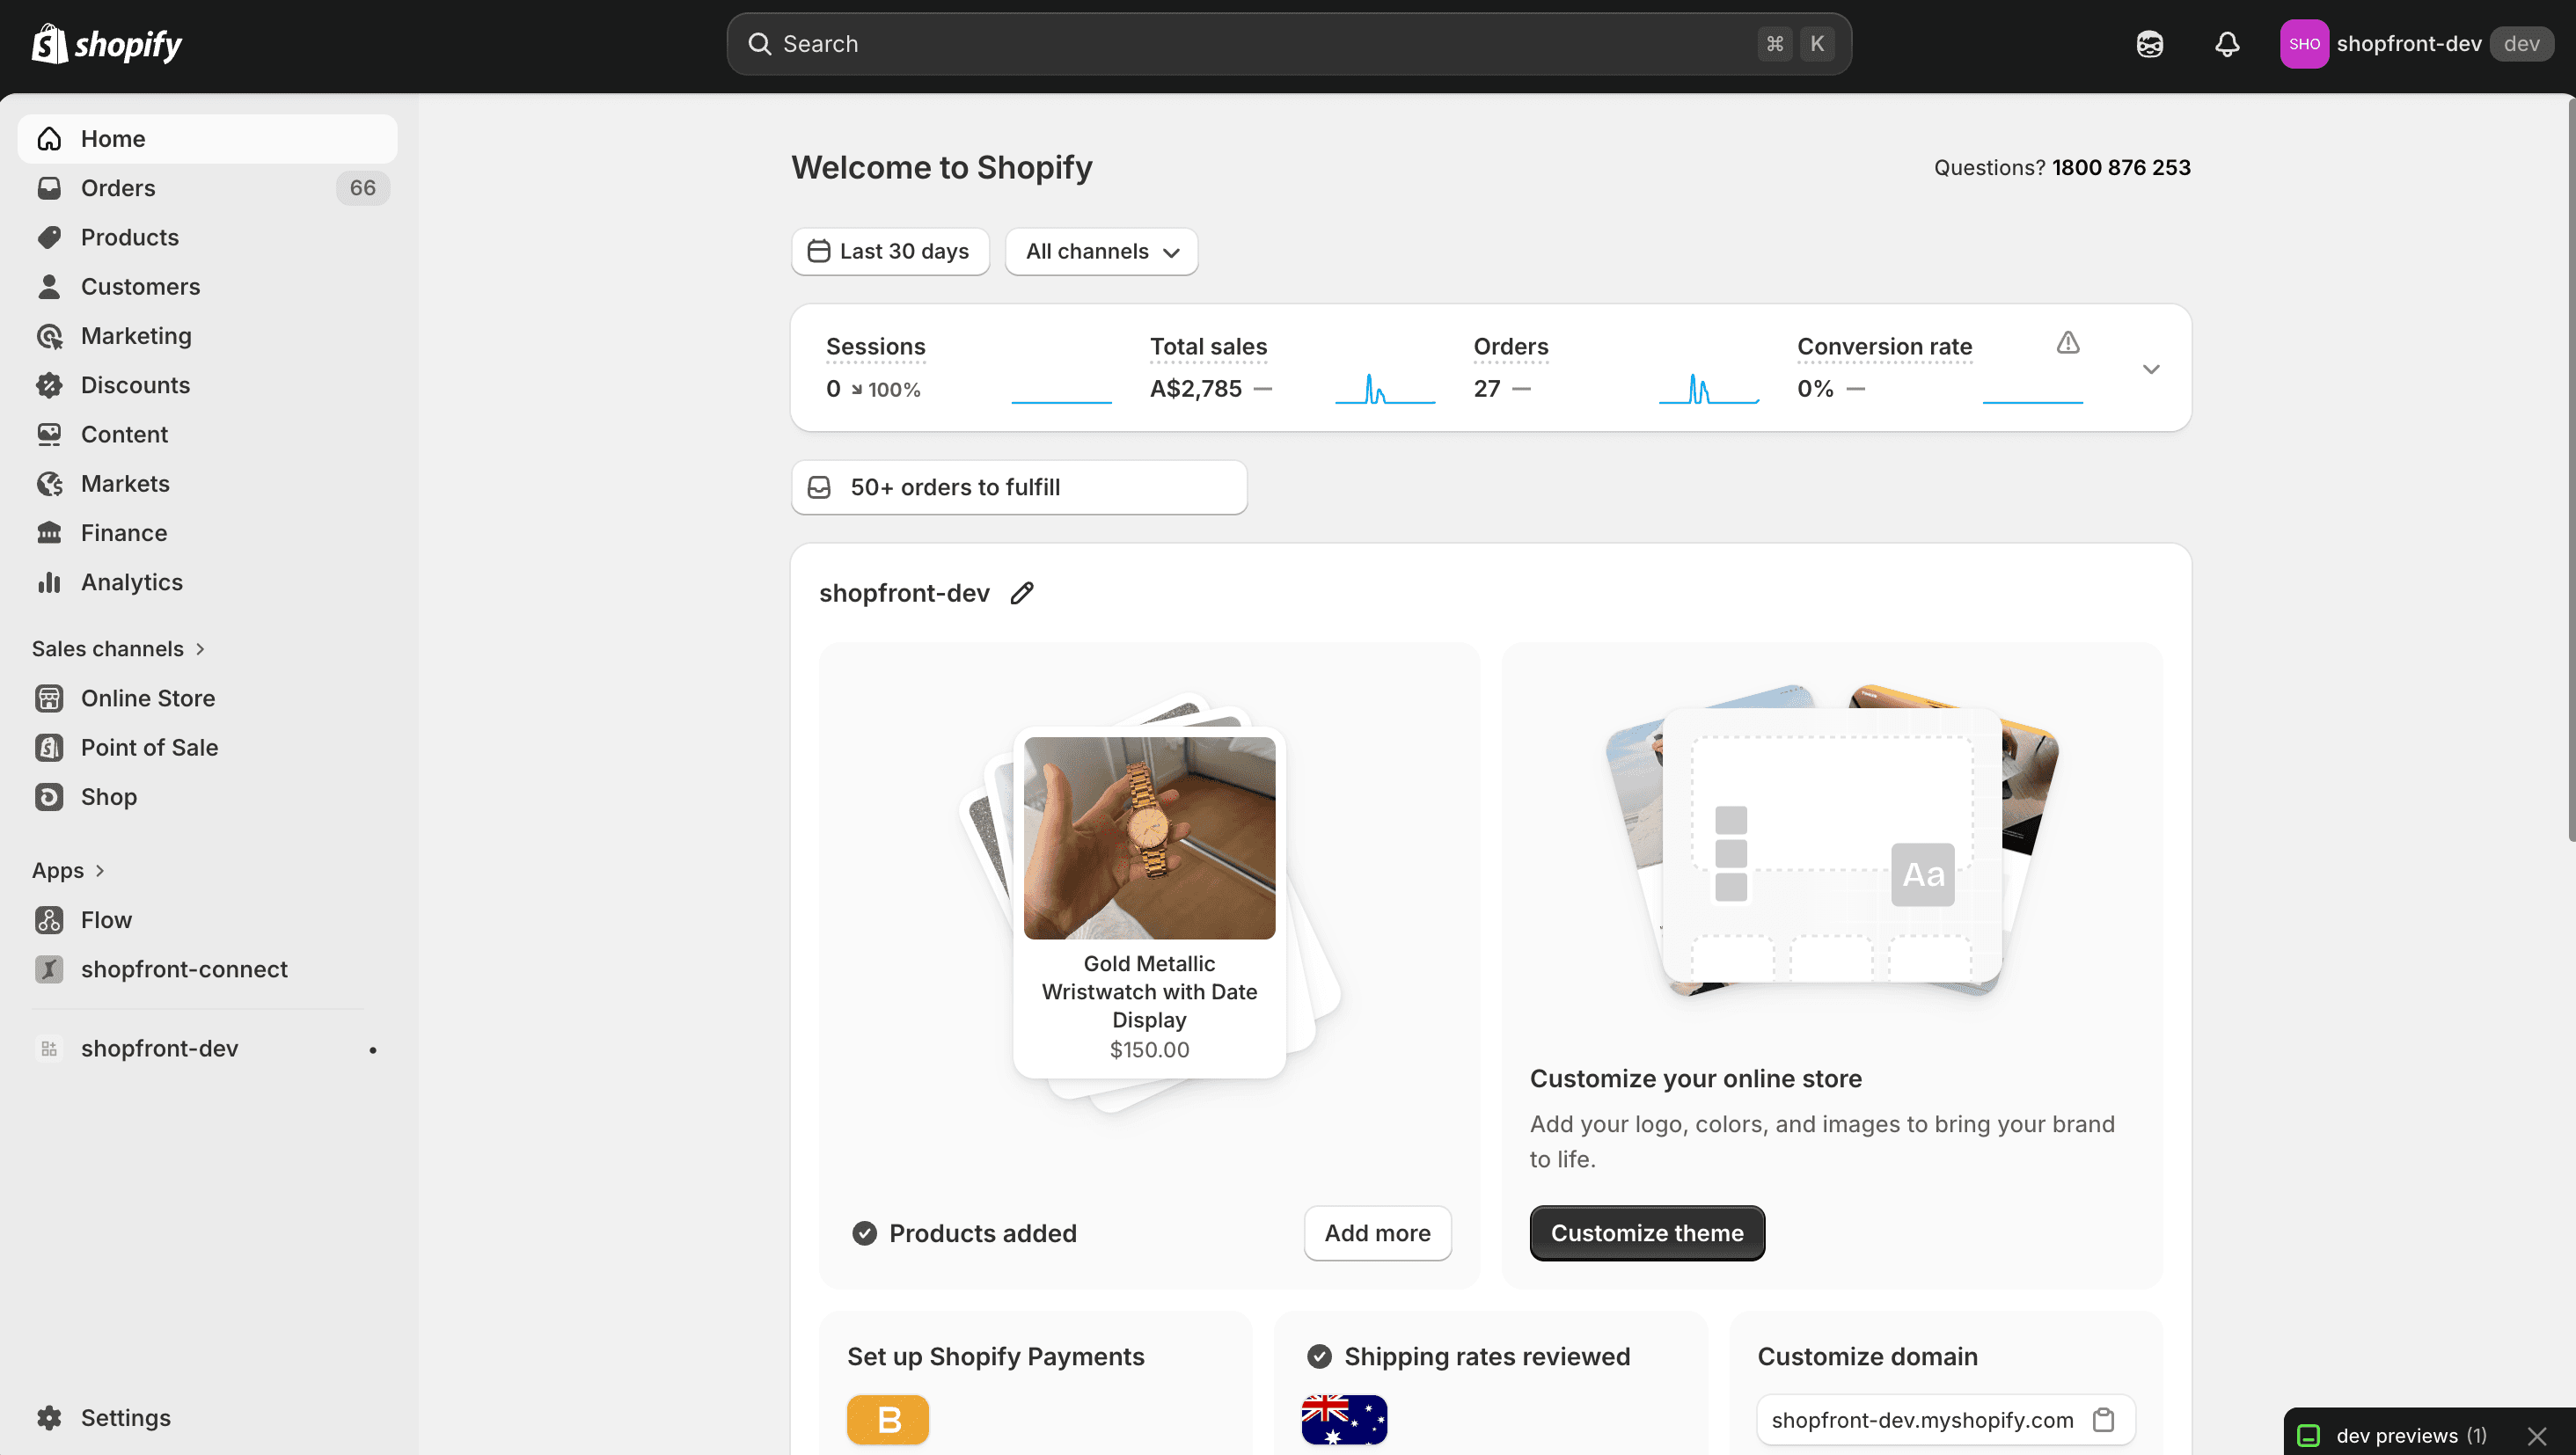
Shopify admin home
Open Settings → Apps. Settings is at the bottom of the sidebar.
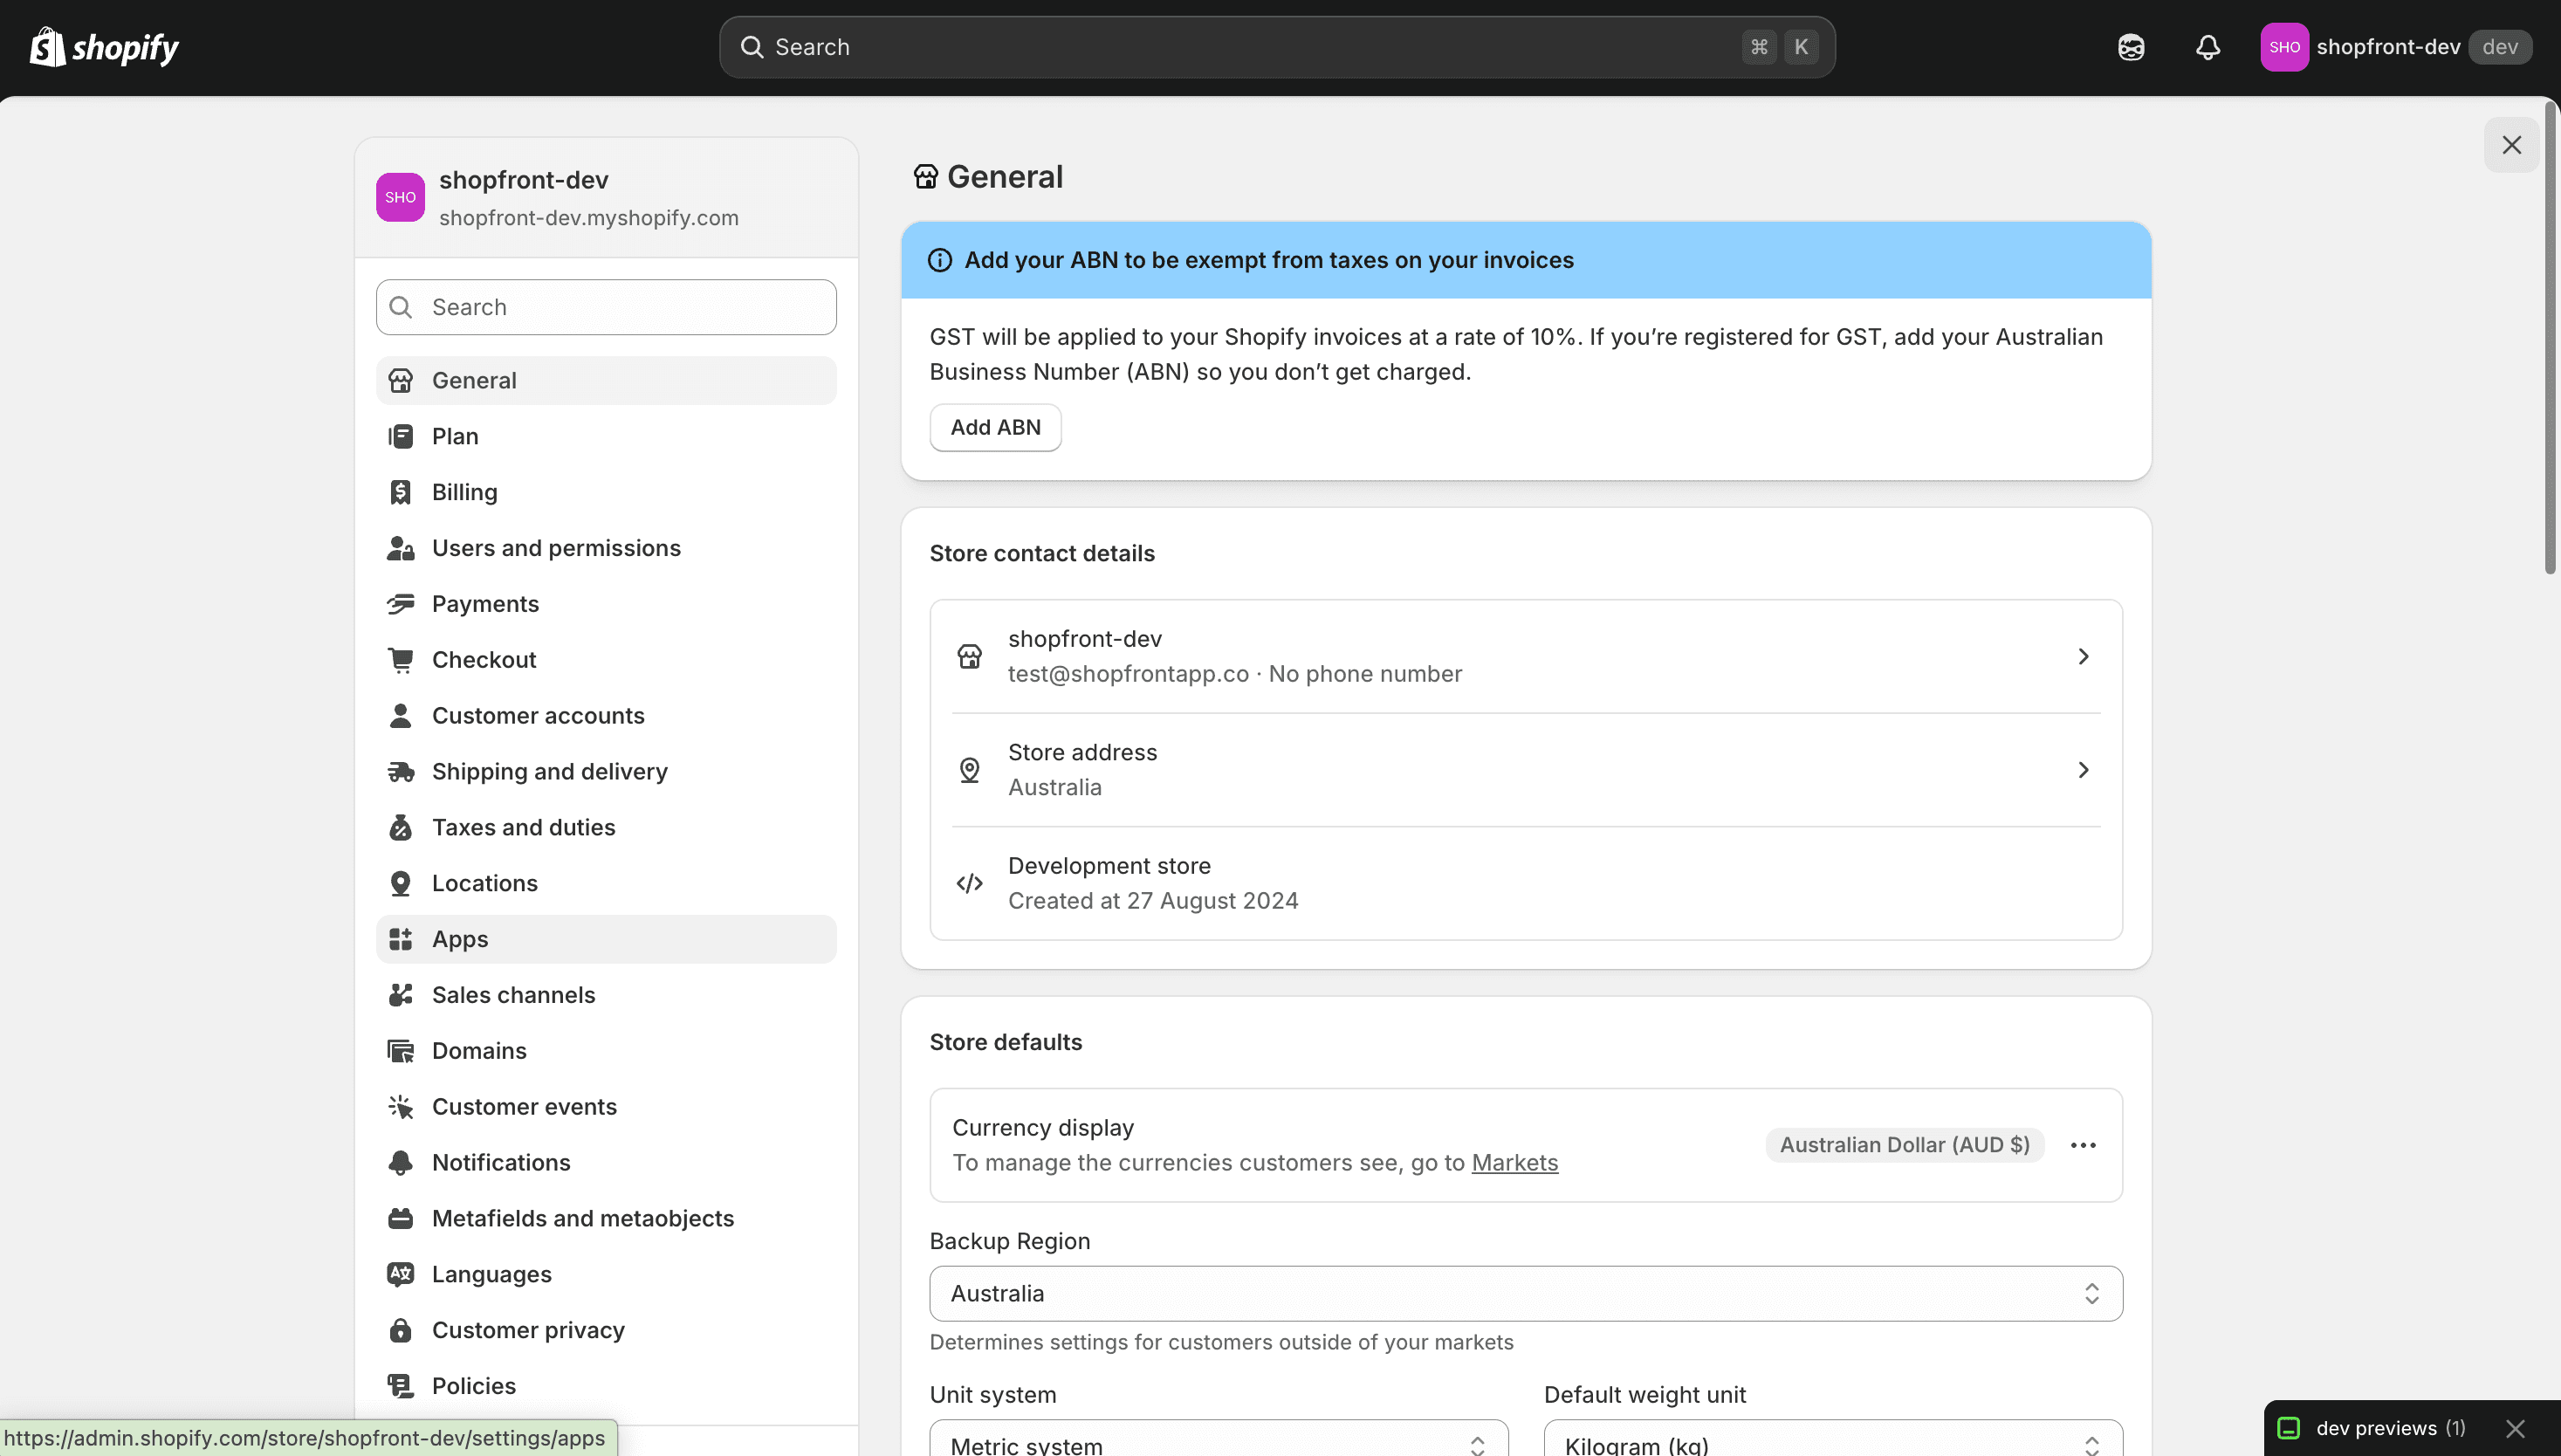
Shopify settings
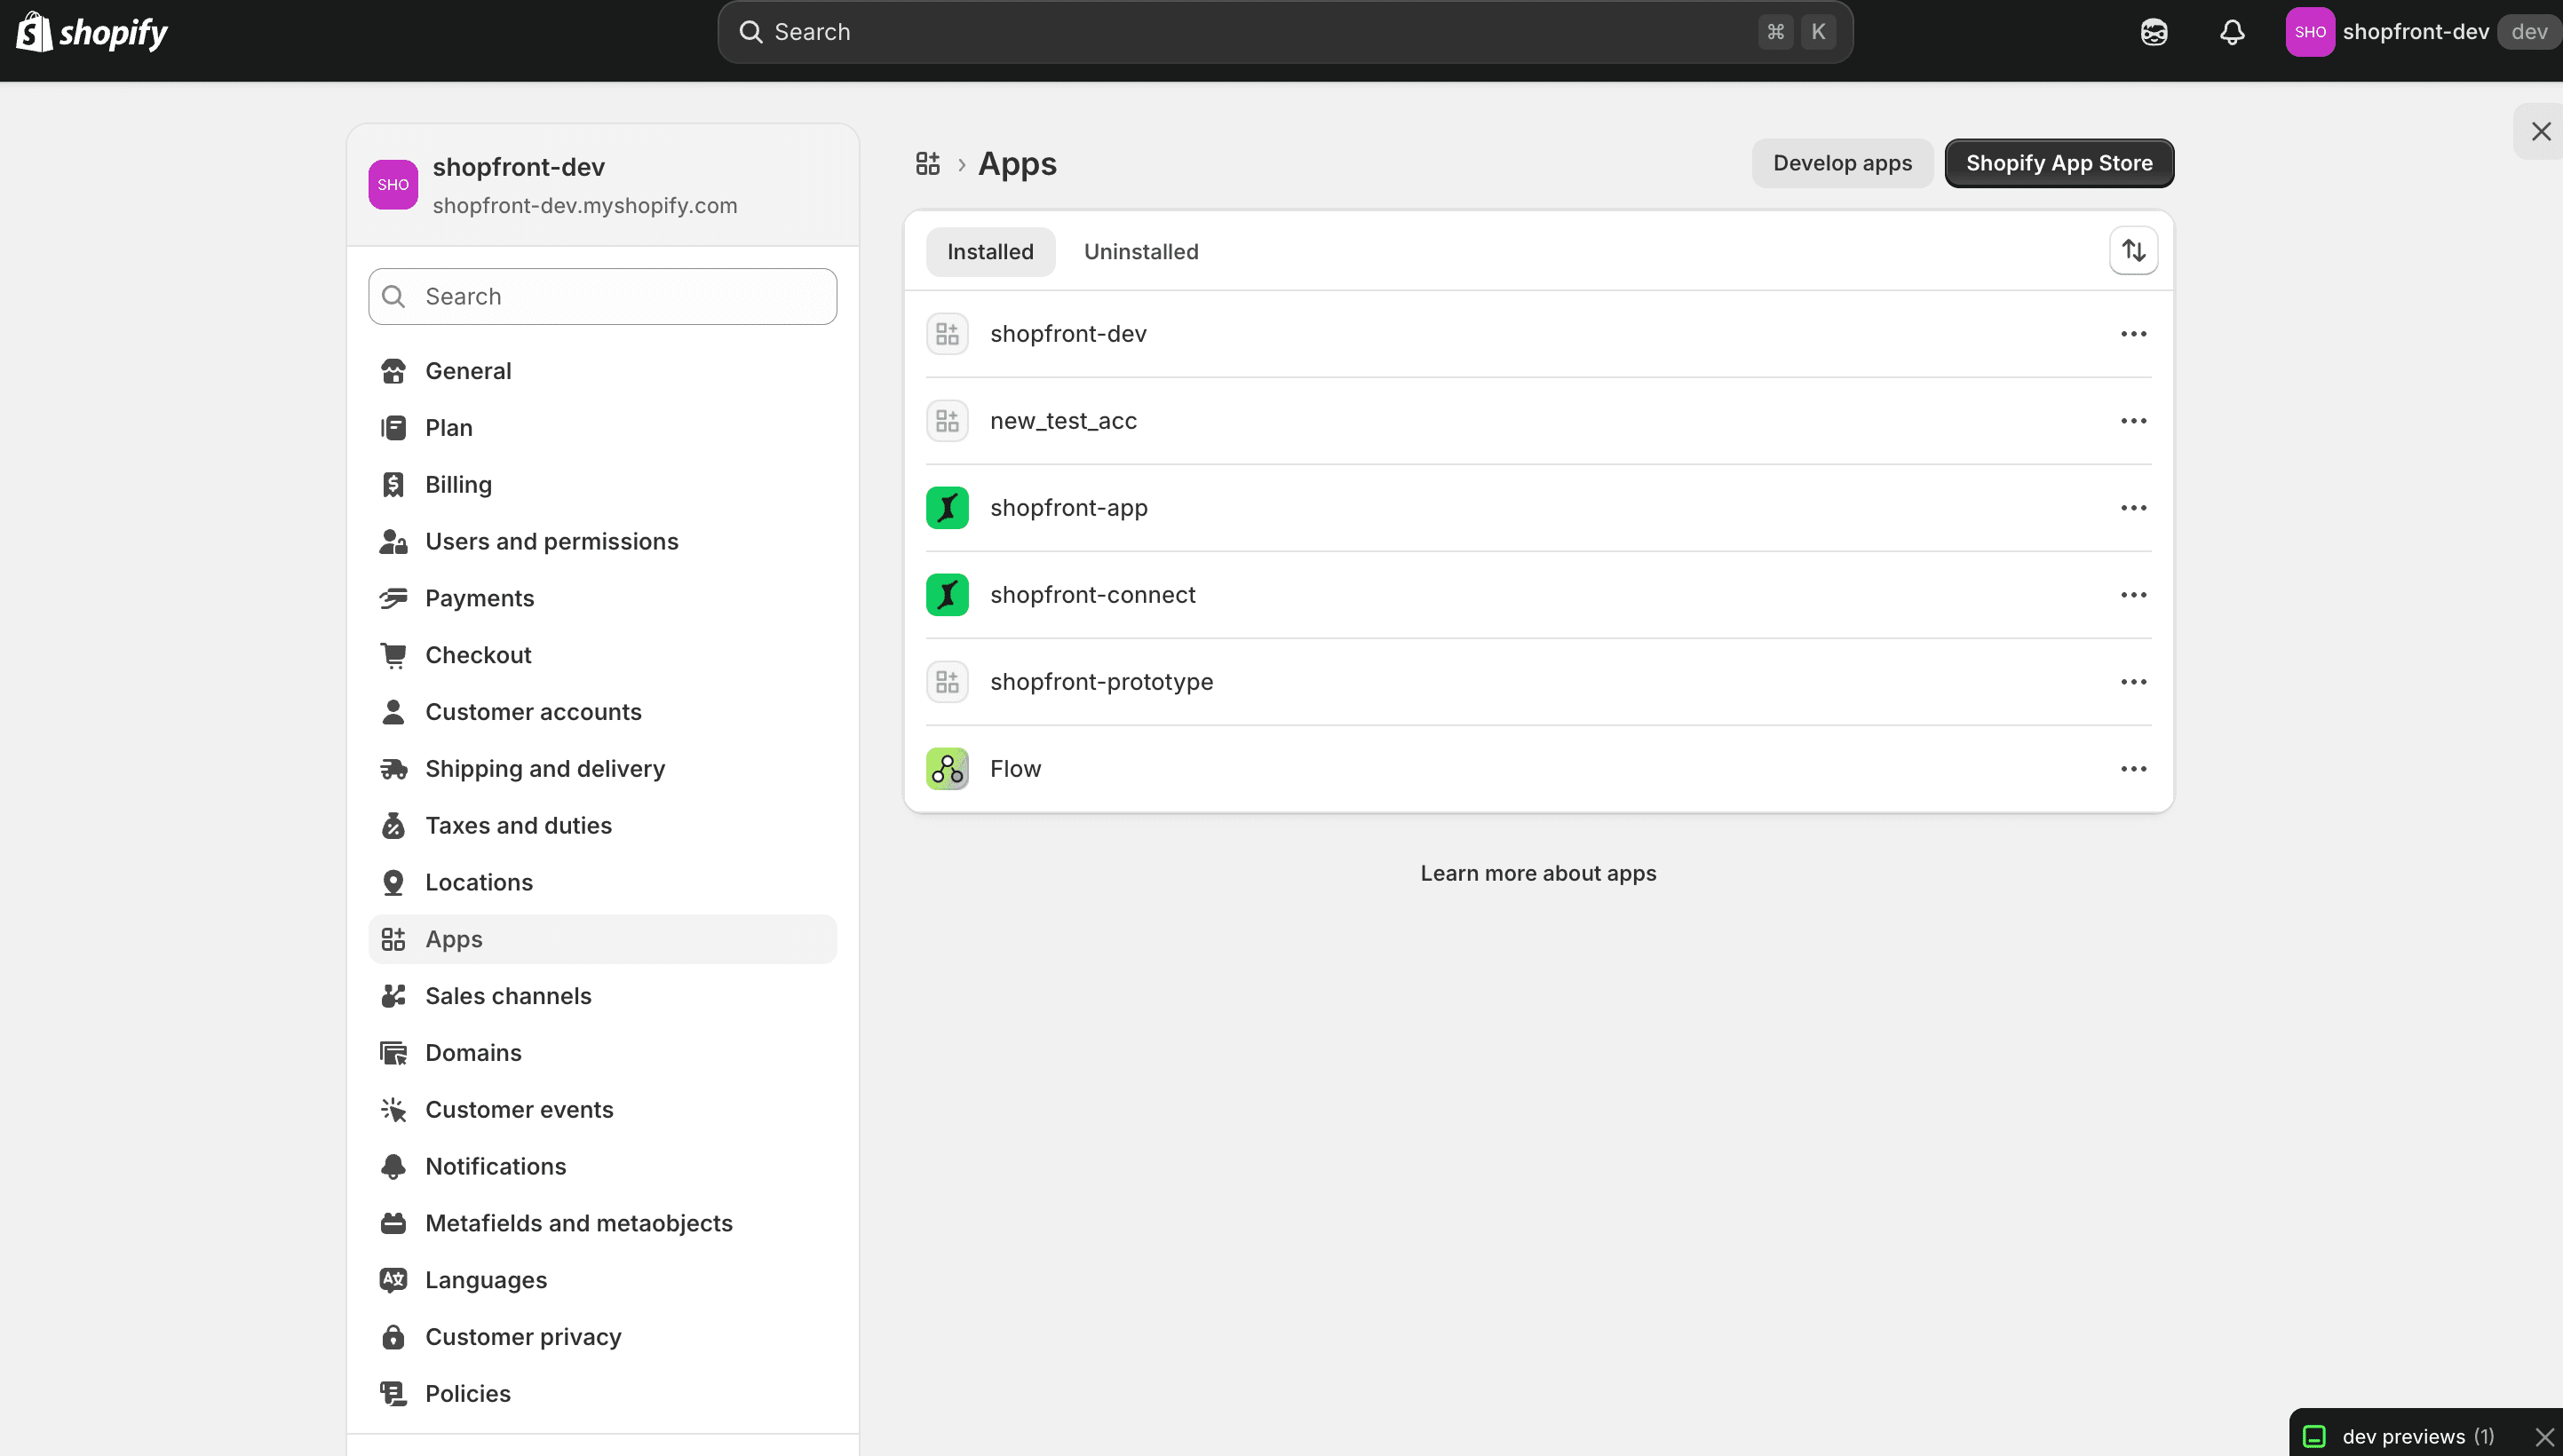
Apps in Shopify settings
Open the Dev Dashboard. Select Develop apps in the top-right corner, then Build apps in Dev Dashboard. The Dev Dashboard opens in a new window.
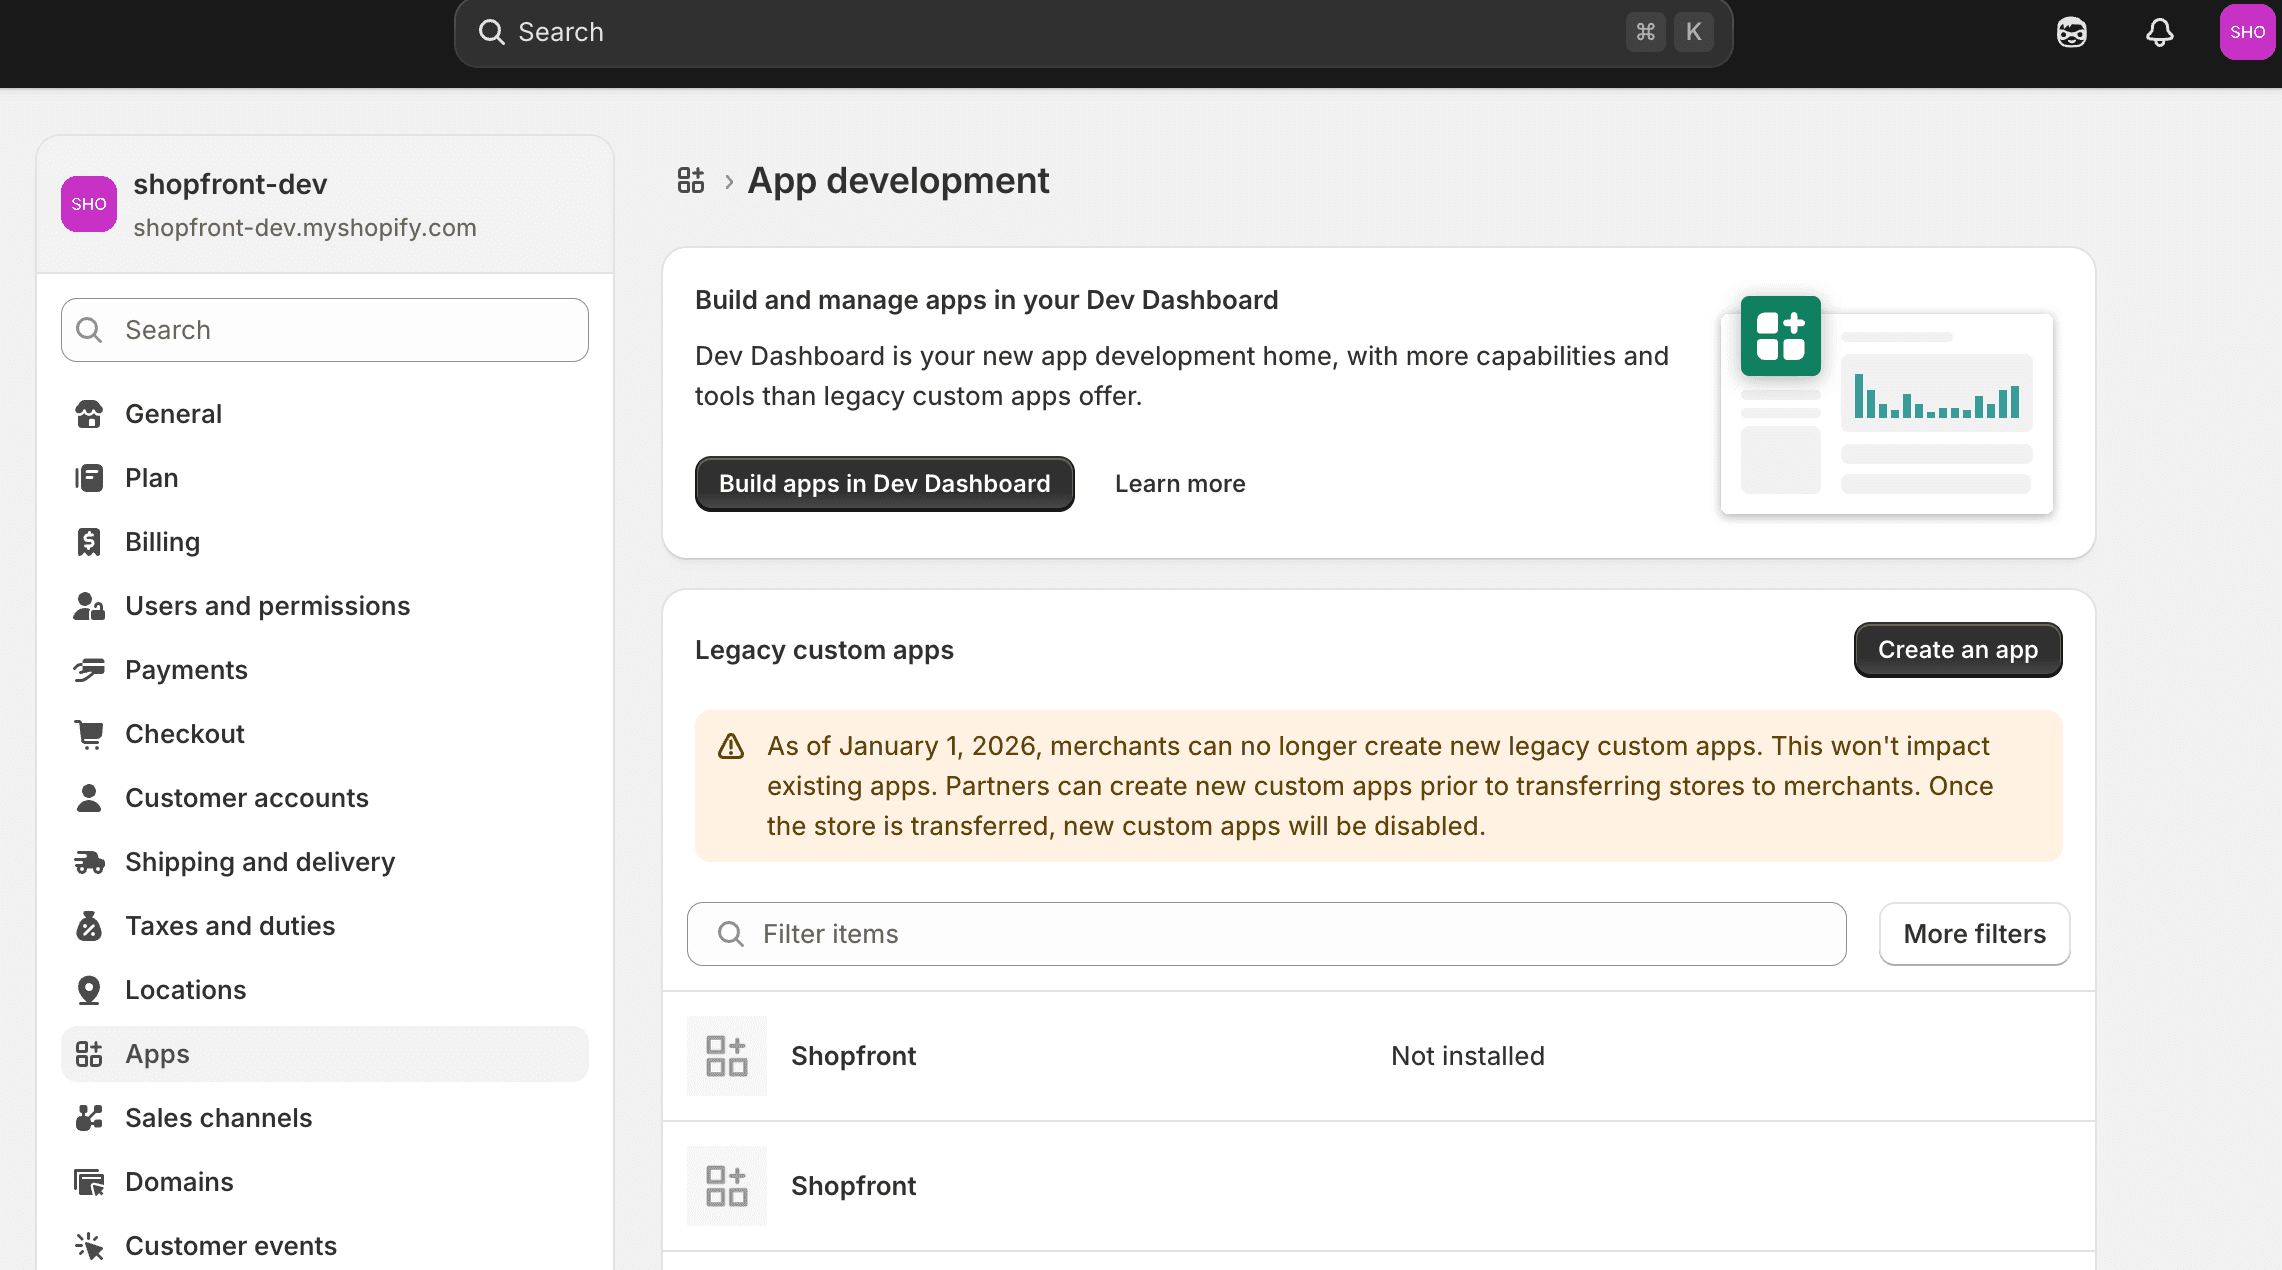
Develop apps

The Shopify Dev Dashboard
Create the app. Select Create app. Under Start from Dev Dashboard, enter Shopfront as the app name and select Create.
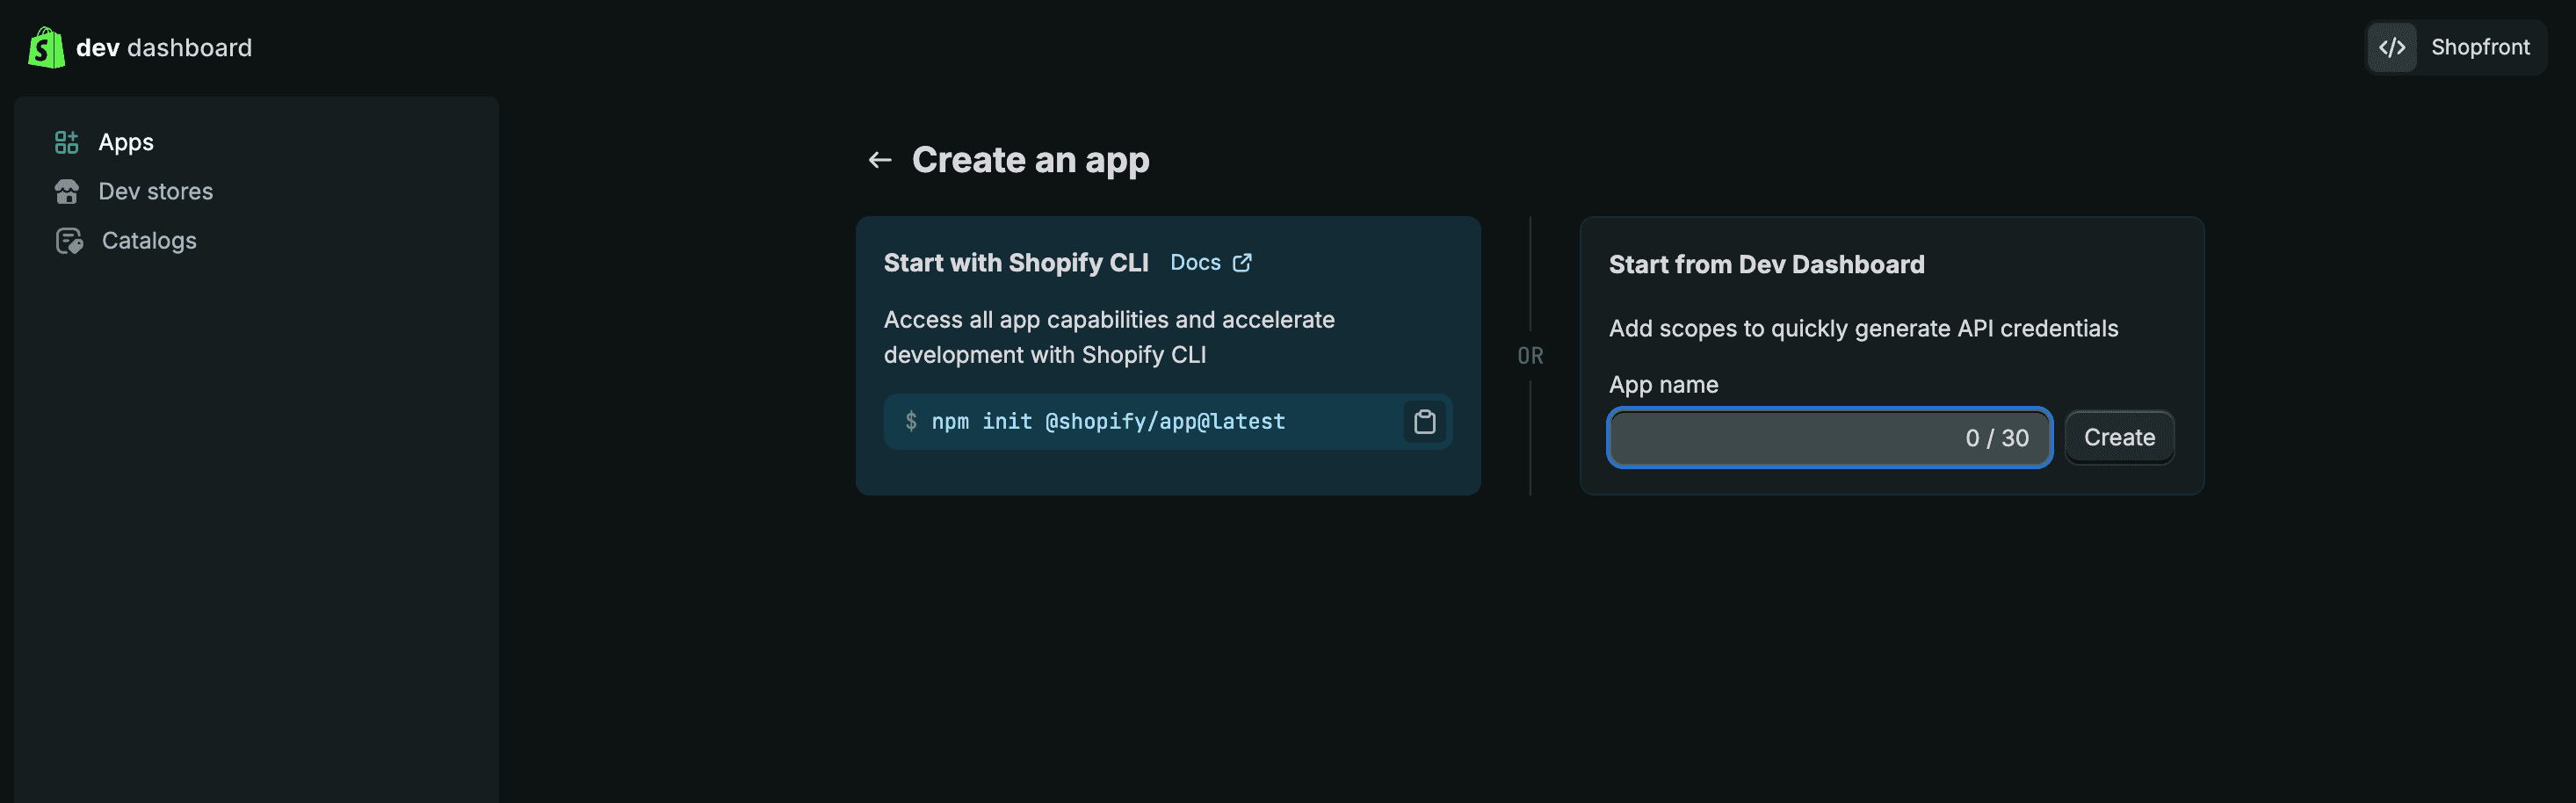
Create app
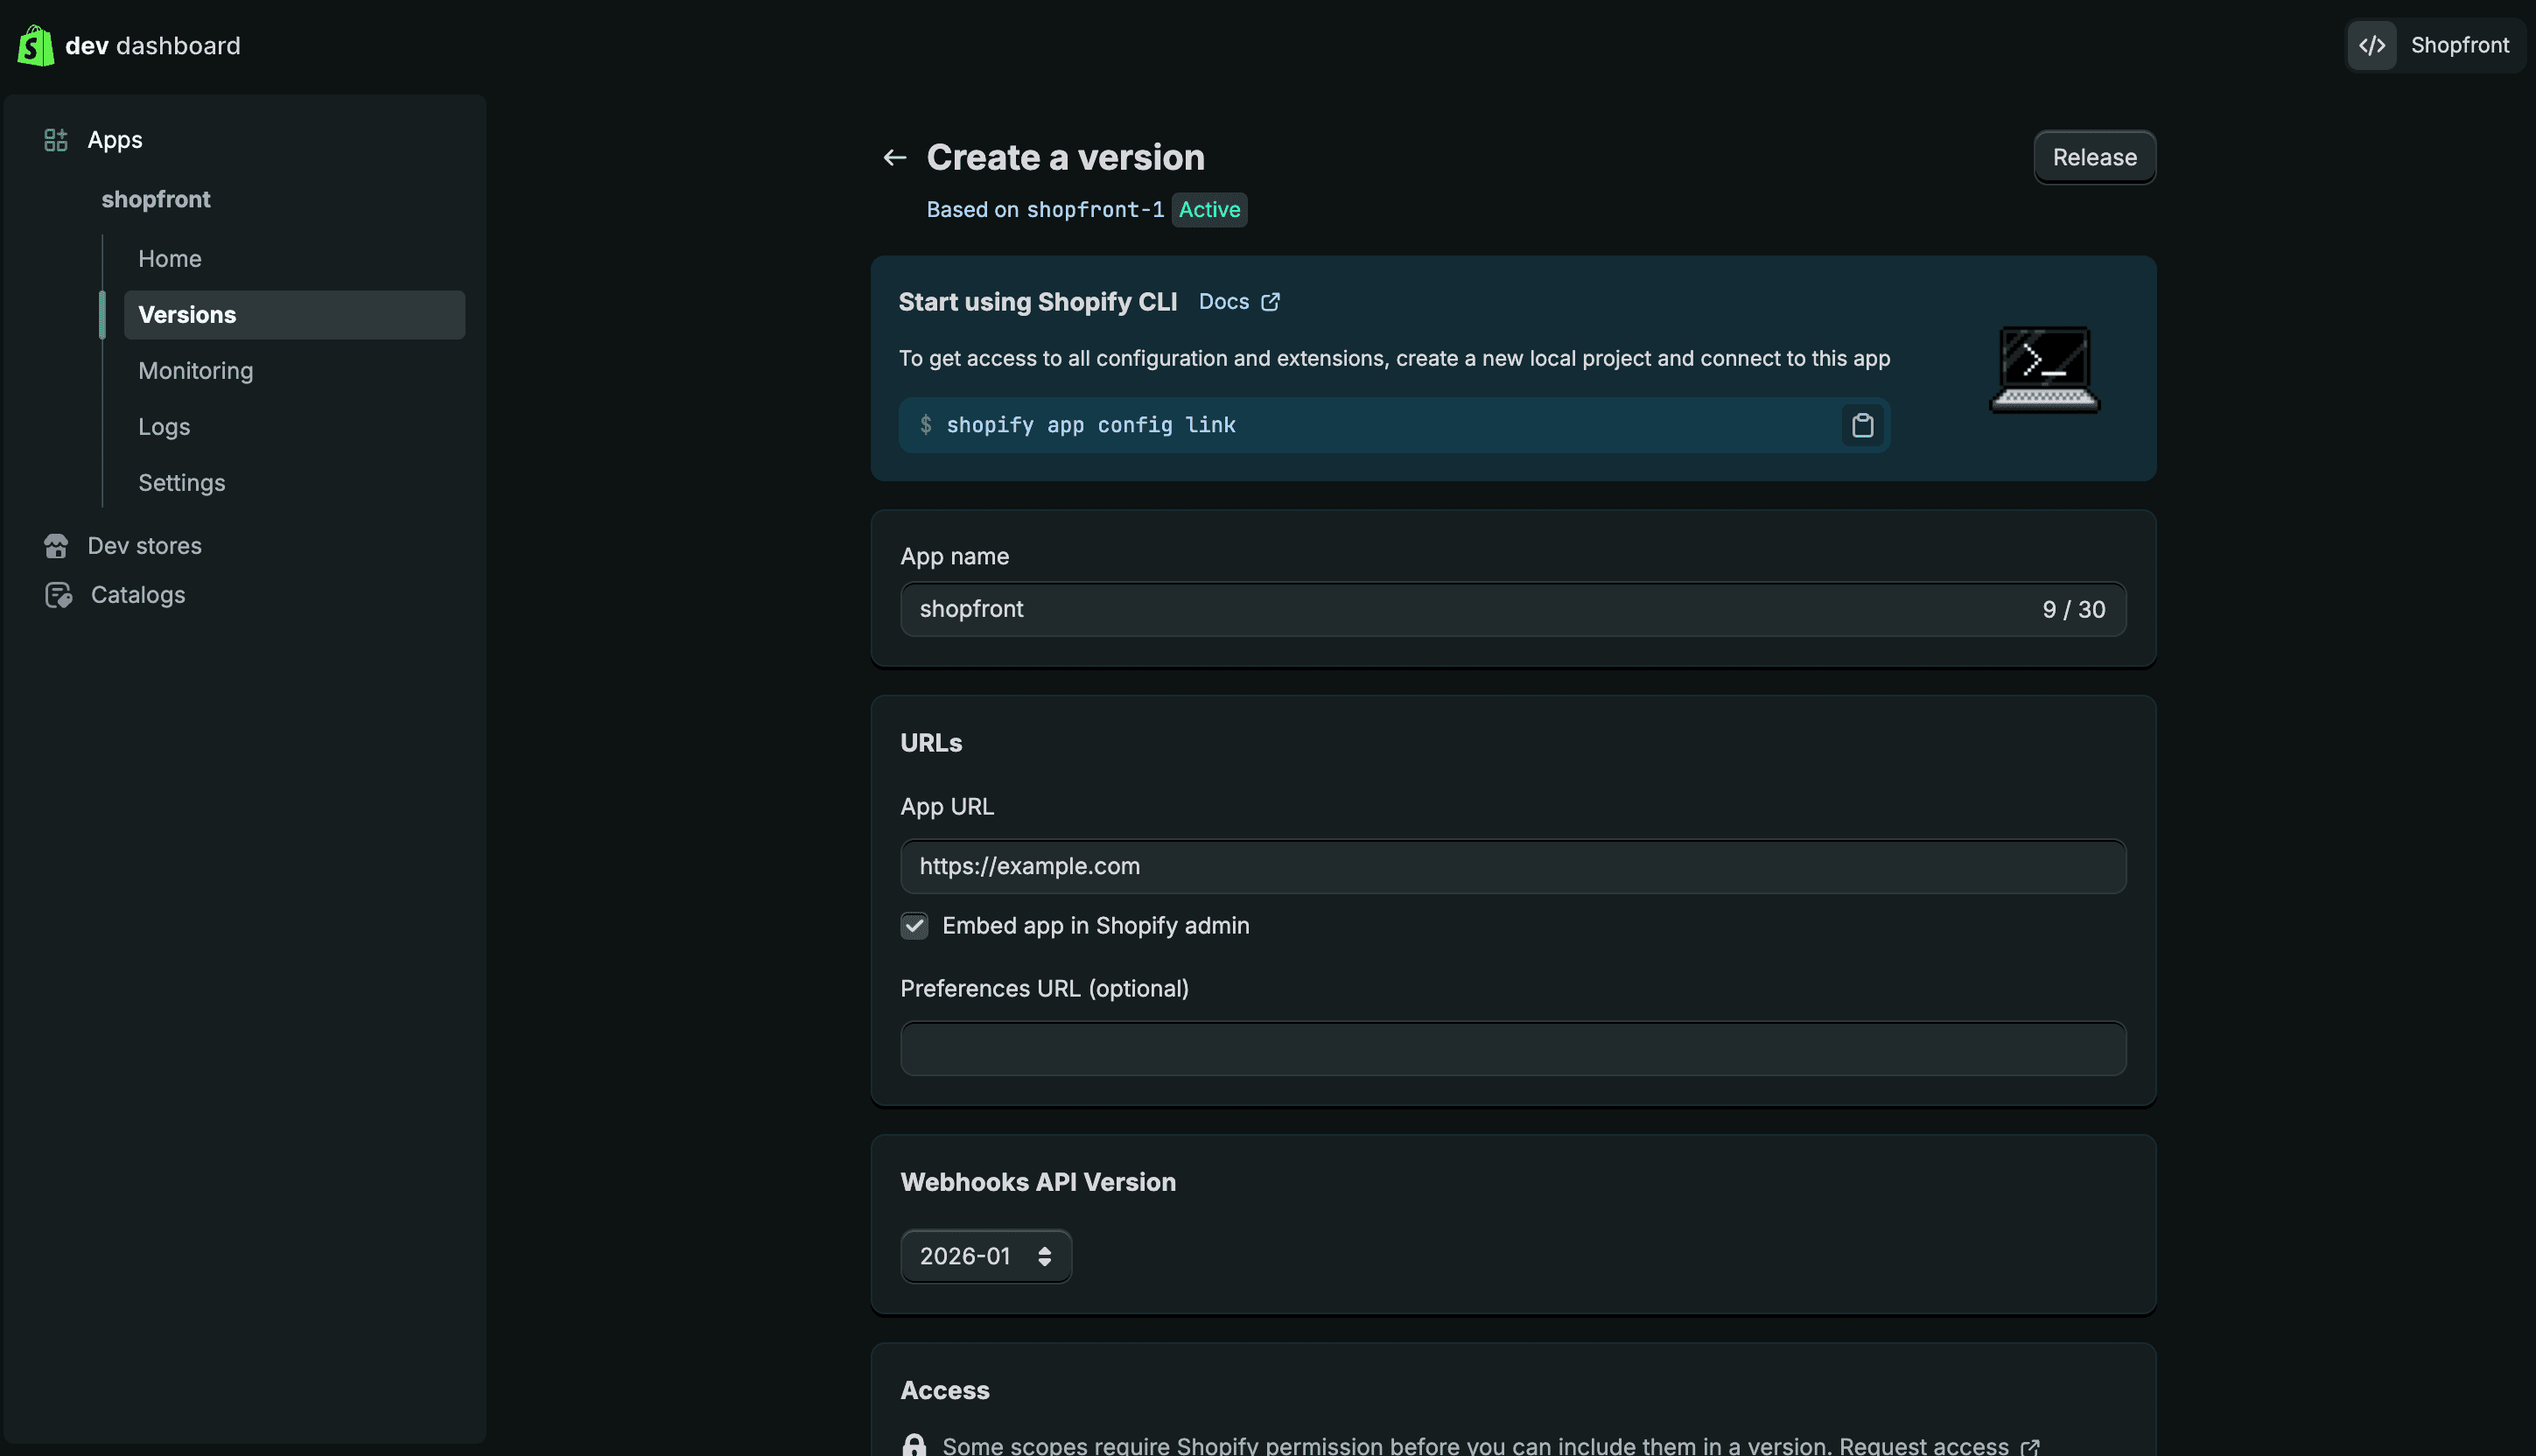
Your new app's page
Which scopes does the app need?
On the app's page, scroll to the Access section. Paste this list into the Scopes field, or add each scope with Select scopes:
write_products,read_orders,write_publications,write_files,write_inventory,read_metaobject_definitions,write_metaobject_definitions,read_metaobjects,write_metaobjects| Scope | Purpose |
|---|---|
write_products | Create and update products. It includes read_products. |
read_orders | Receive Shopify orders for sales tracking and cross-channel delisting. |
write_publications | Read and restore a product's sales-channel settings when it is delisted and relisted. |
write_files | Upload product images. |
write_inventory | Set inventory levels. |
read_metaobject_definitions, write_metaobject_definitions | Read and create category attribute definitions. |
read_metaobjects, write_metaobjects | Read and create category attribute values. |
Required scopes
Test Connection fails if the app is missing write_products, write_publications, write_metaobjects or write_metaobject_definitions. Without read_orders, the connection works in Listing-only mode.
Select Release at the bottom of the page, then select Release again in the confirmation dialog. You can leave the version name and message blank.
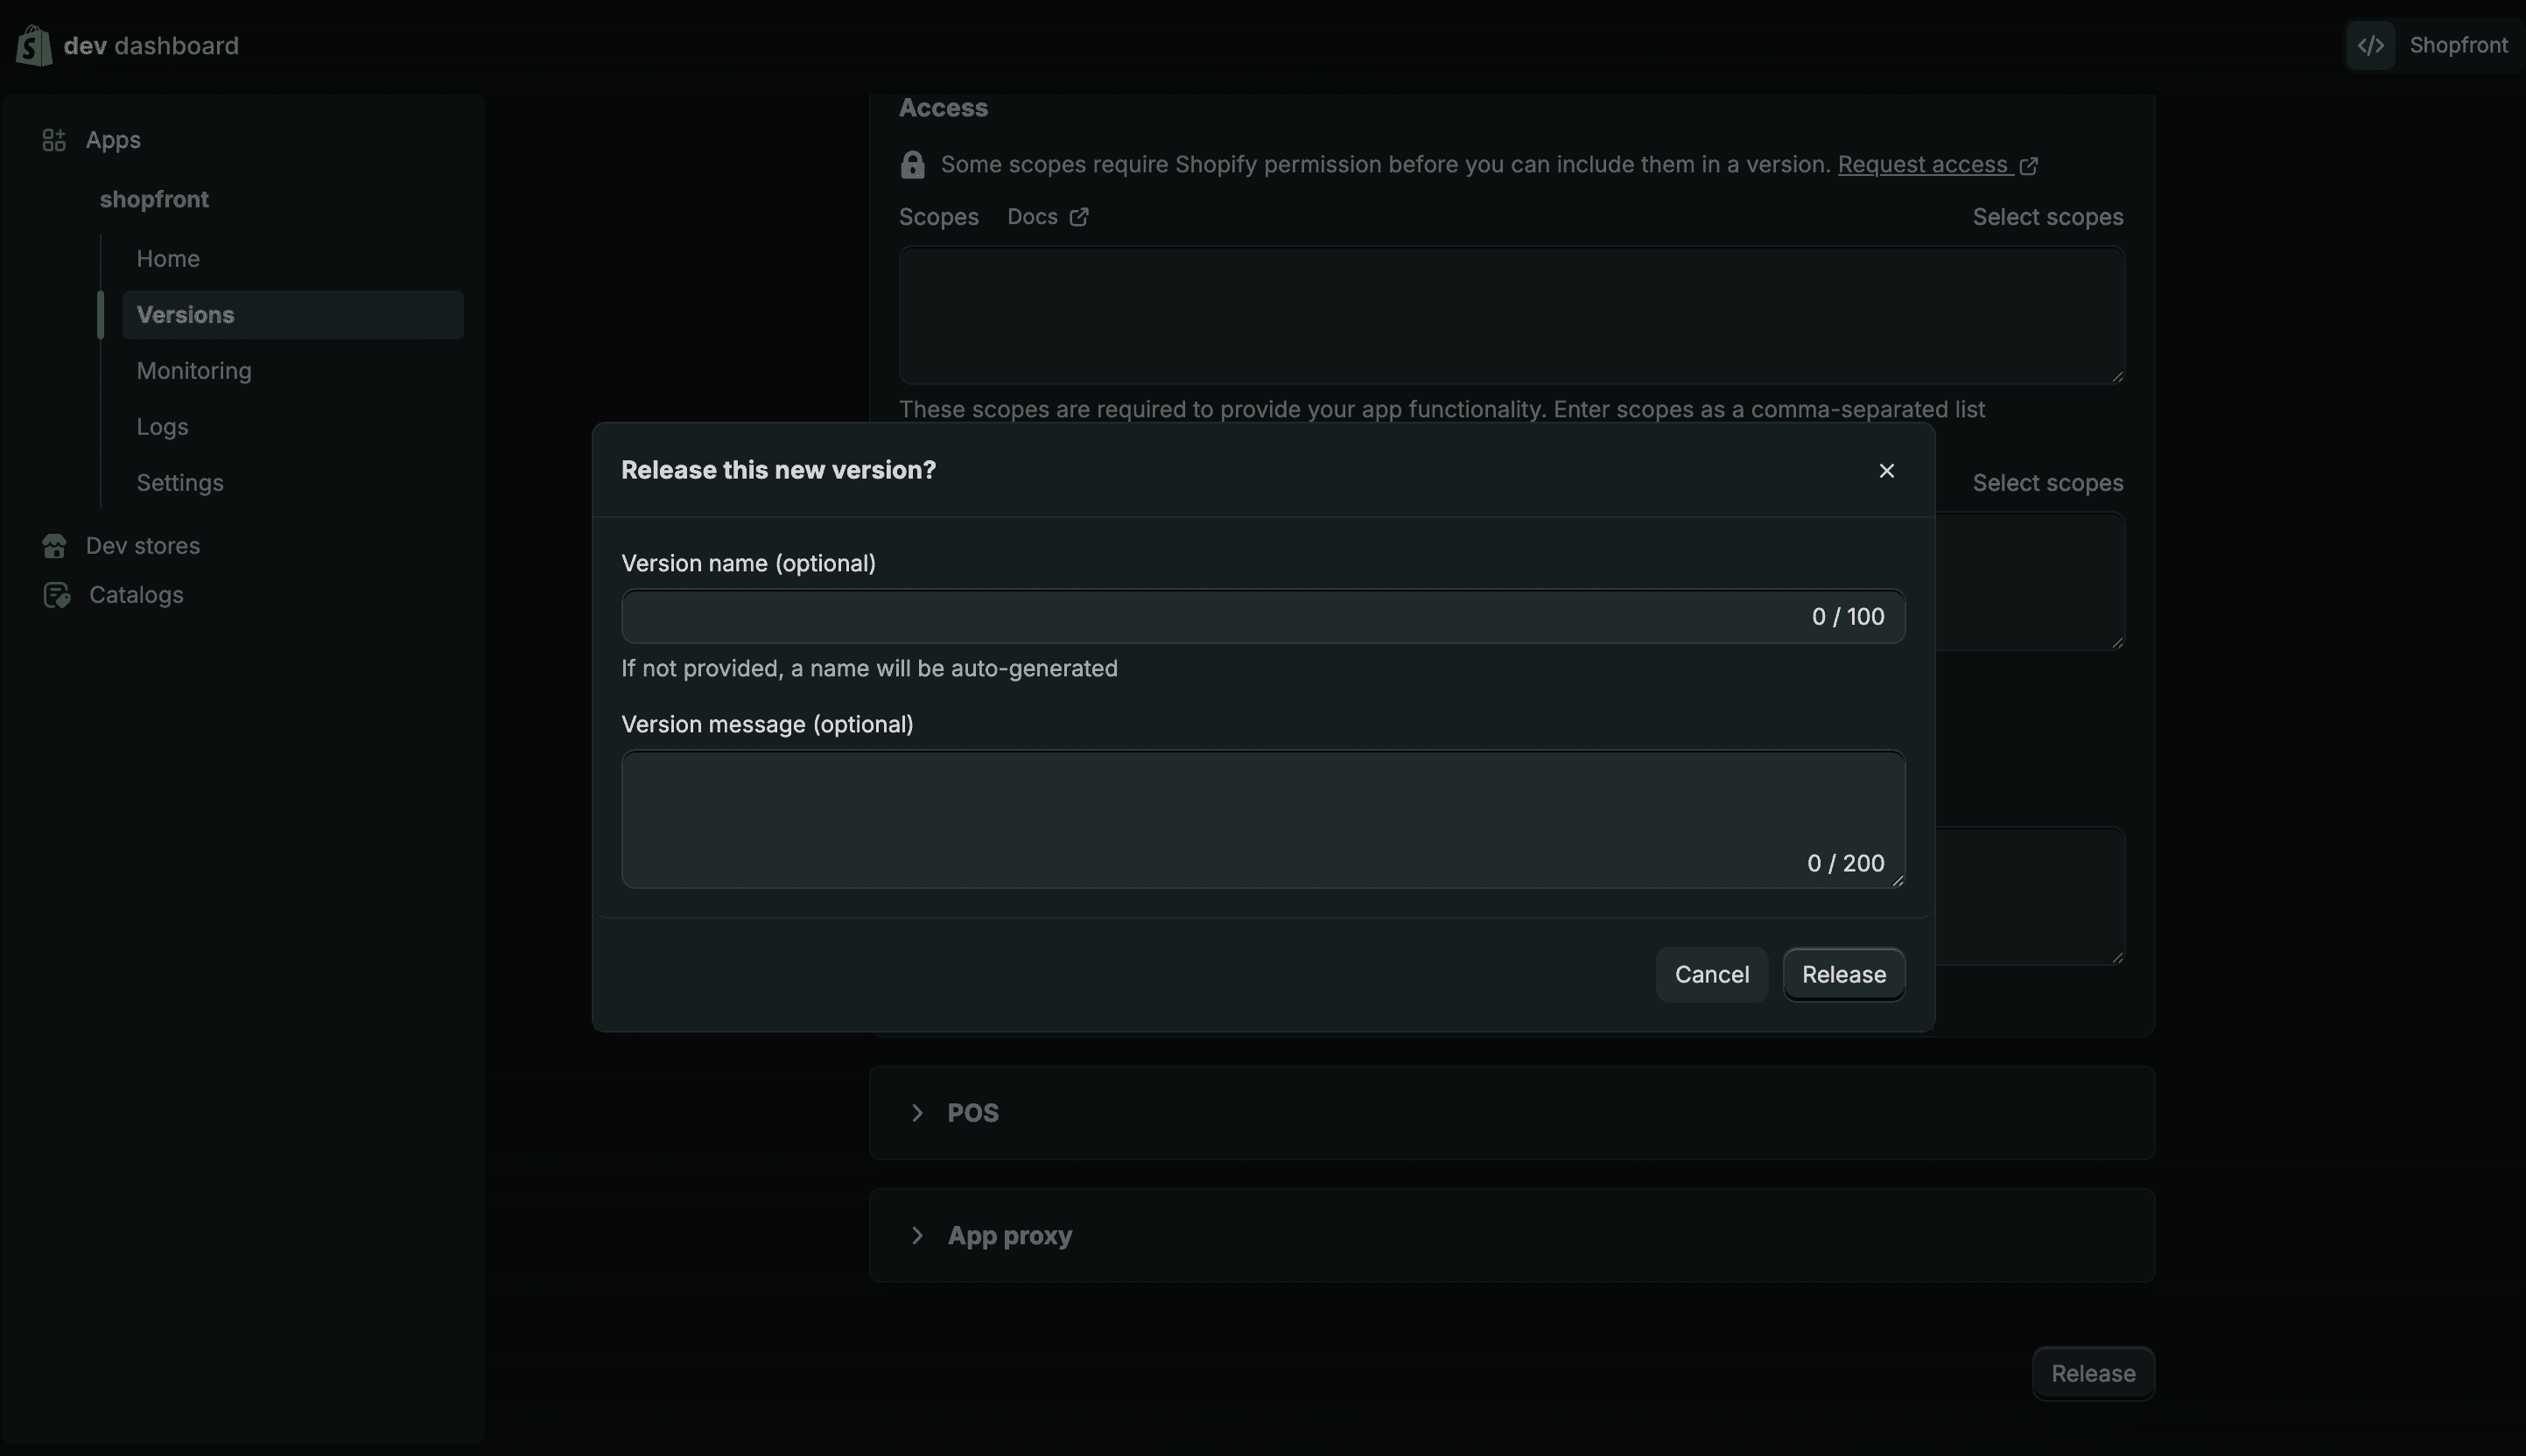
Release the app version
Shopify opens the Versions page and marks your release Active.
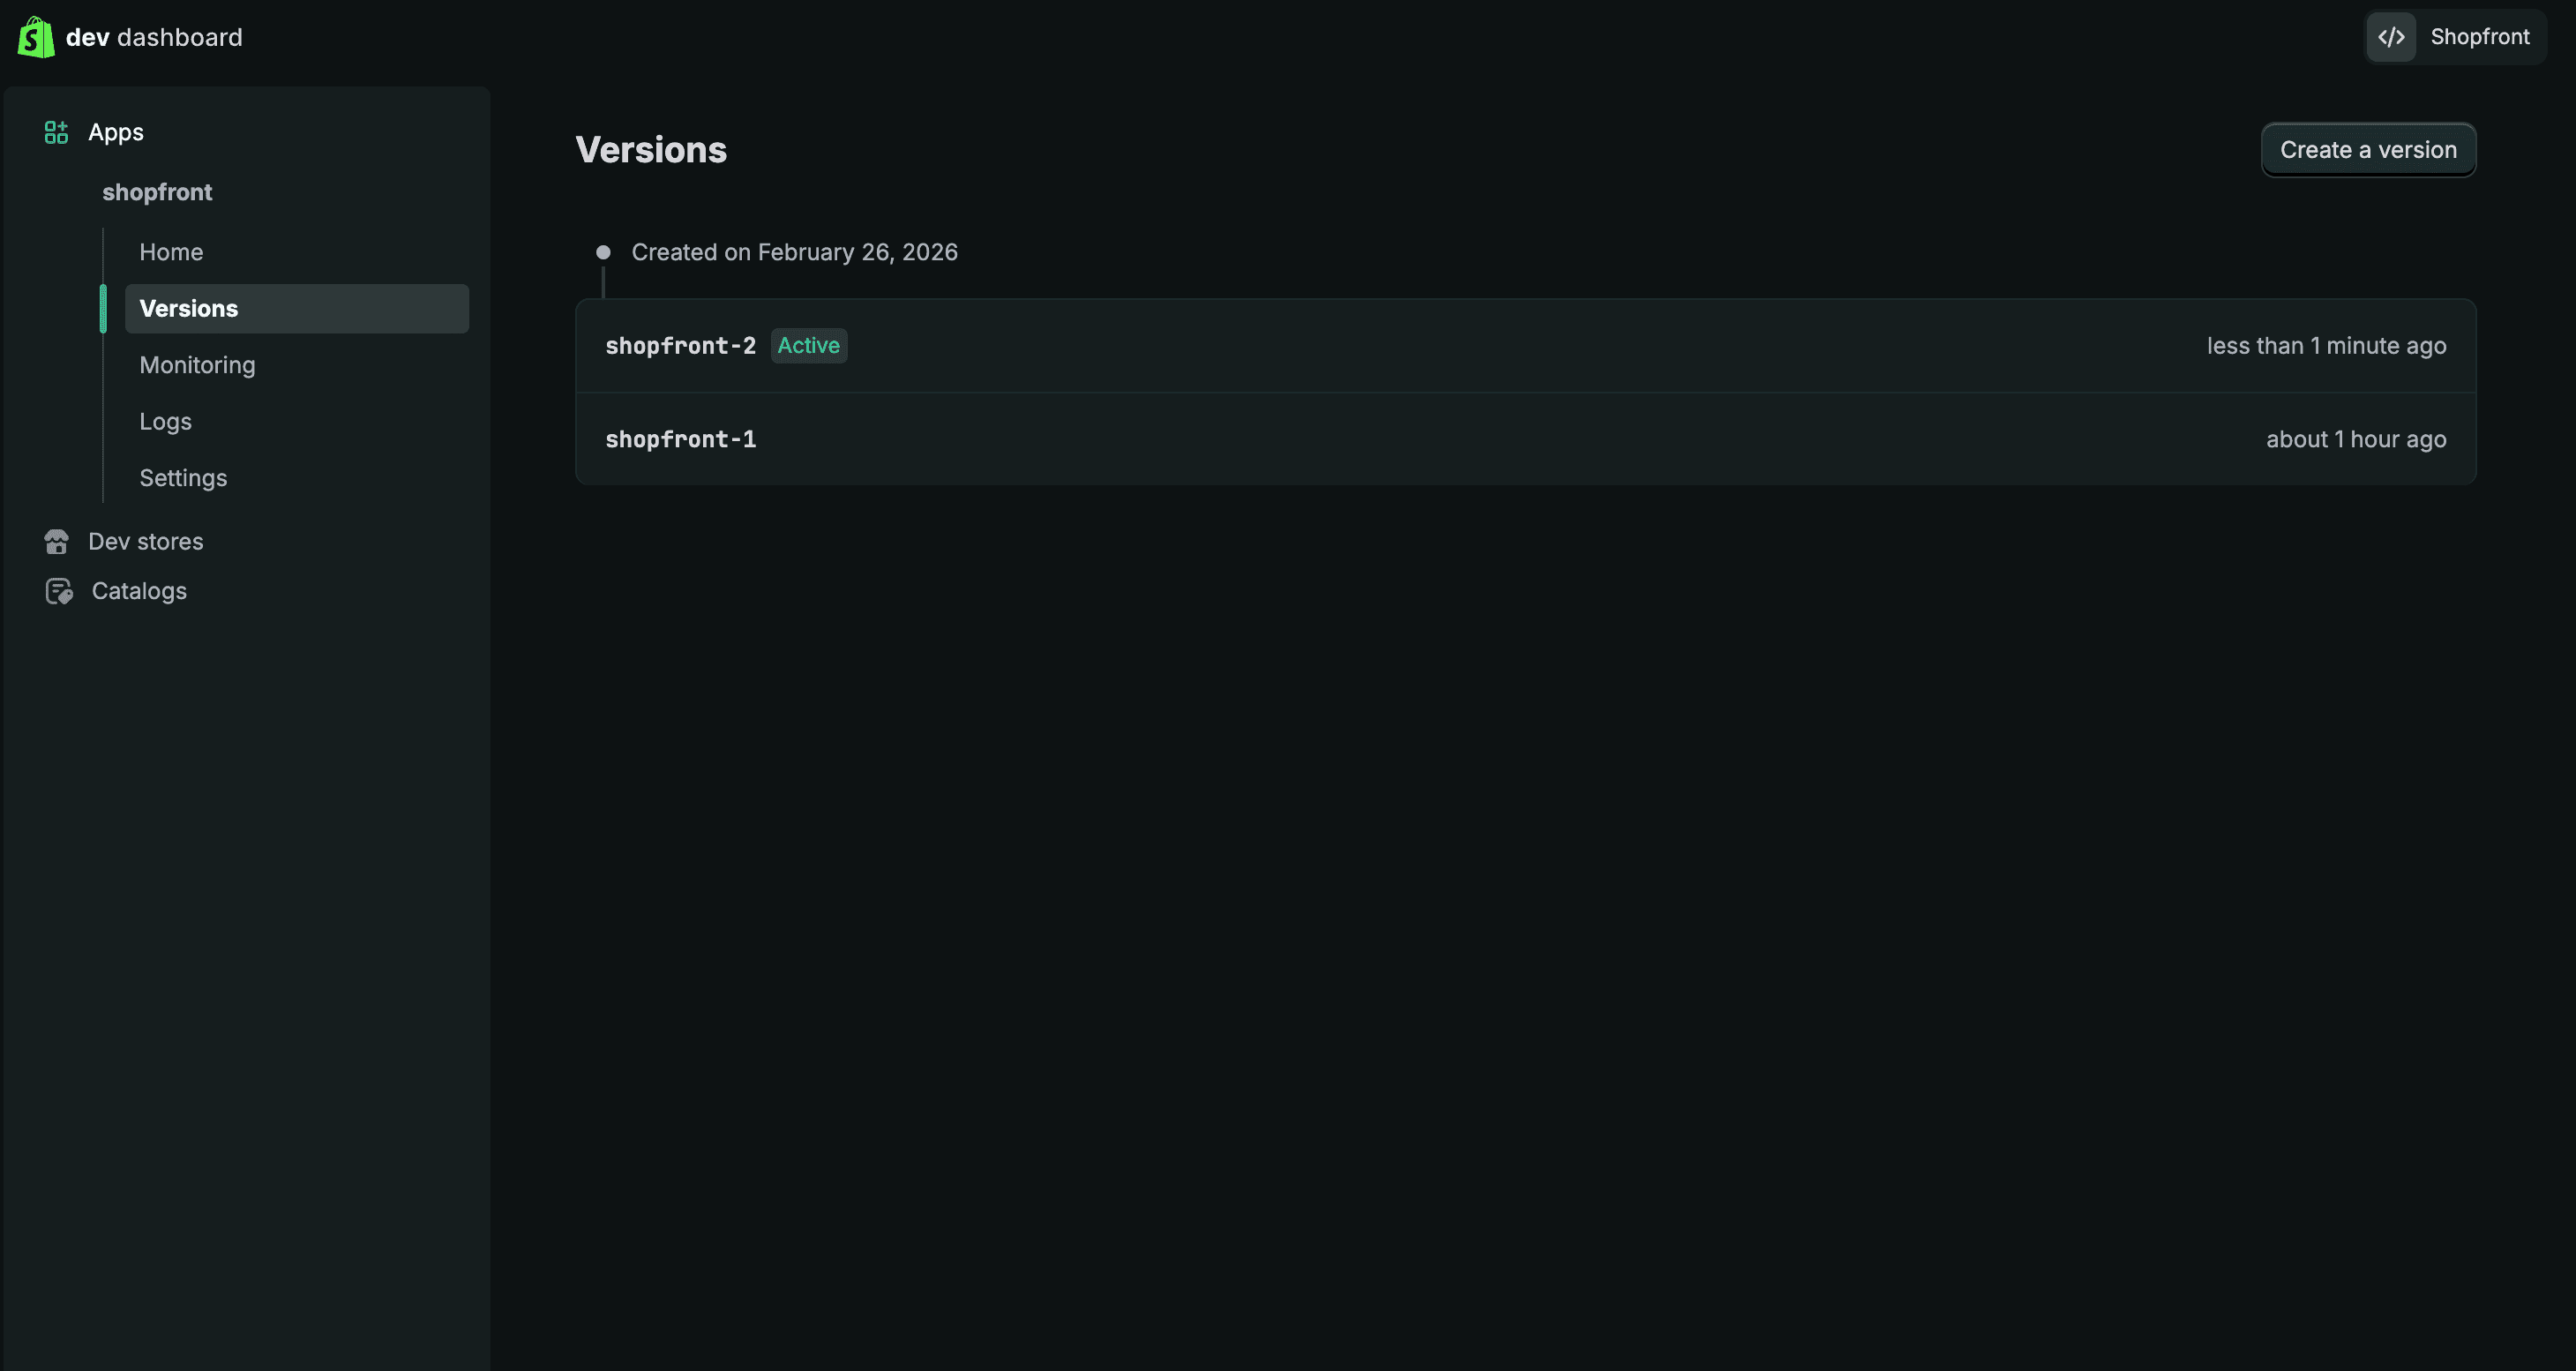
The release marked Active
How do I install the app and find the credentials?
Install the app. Select Home in the app's sidebar, then Install app in the top-right corner.
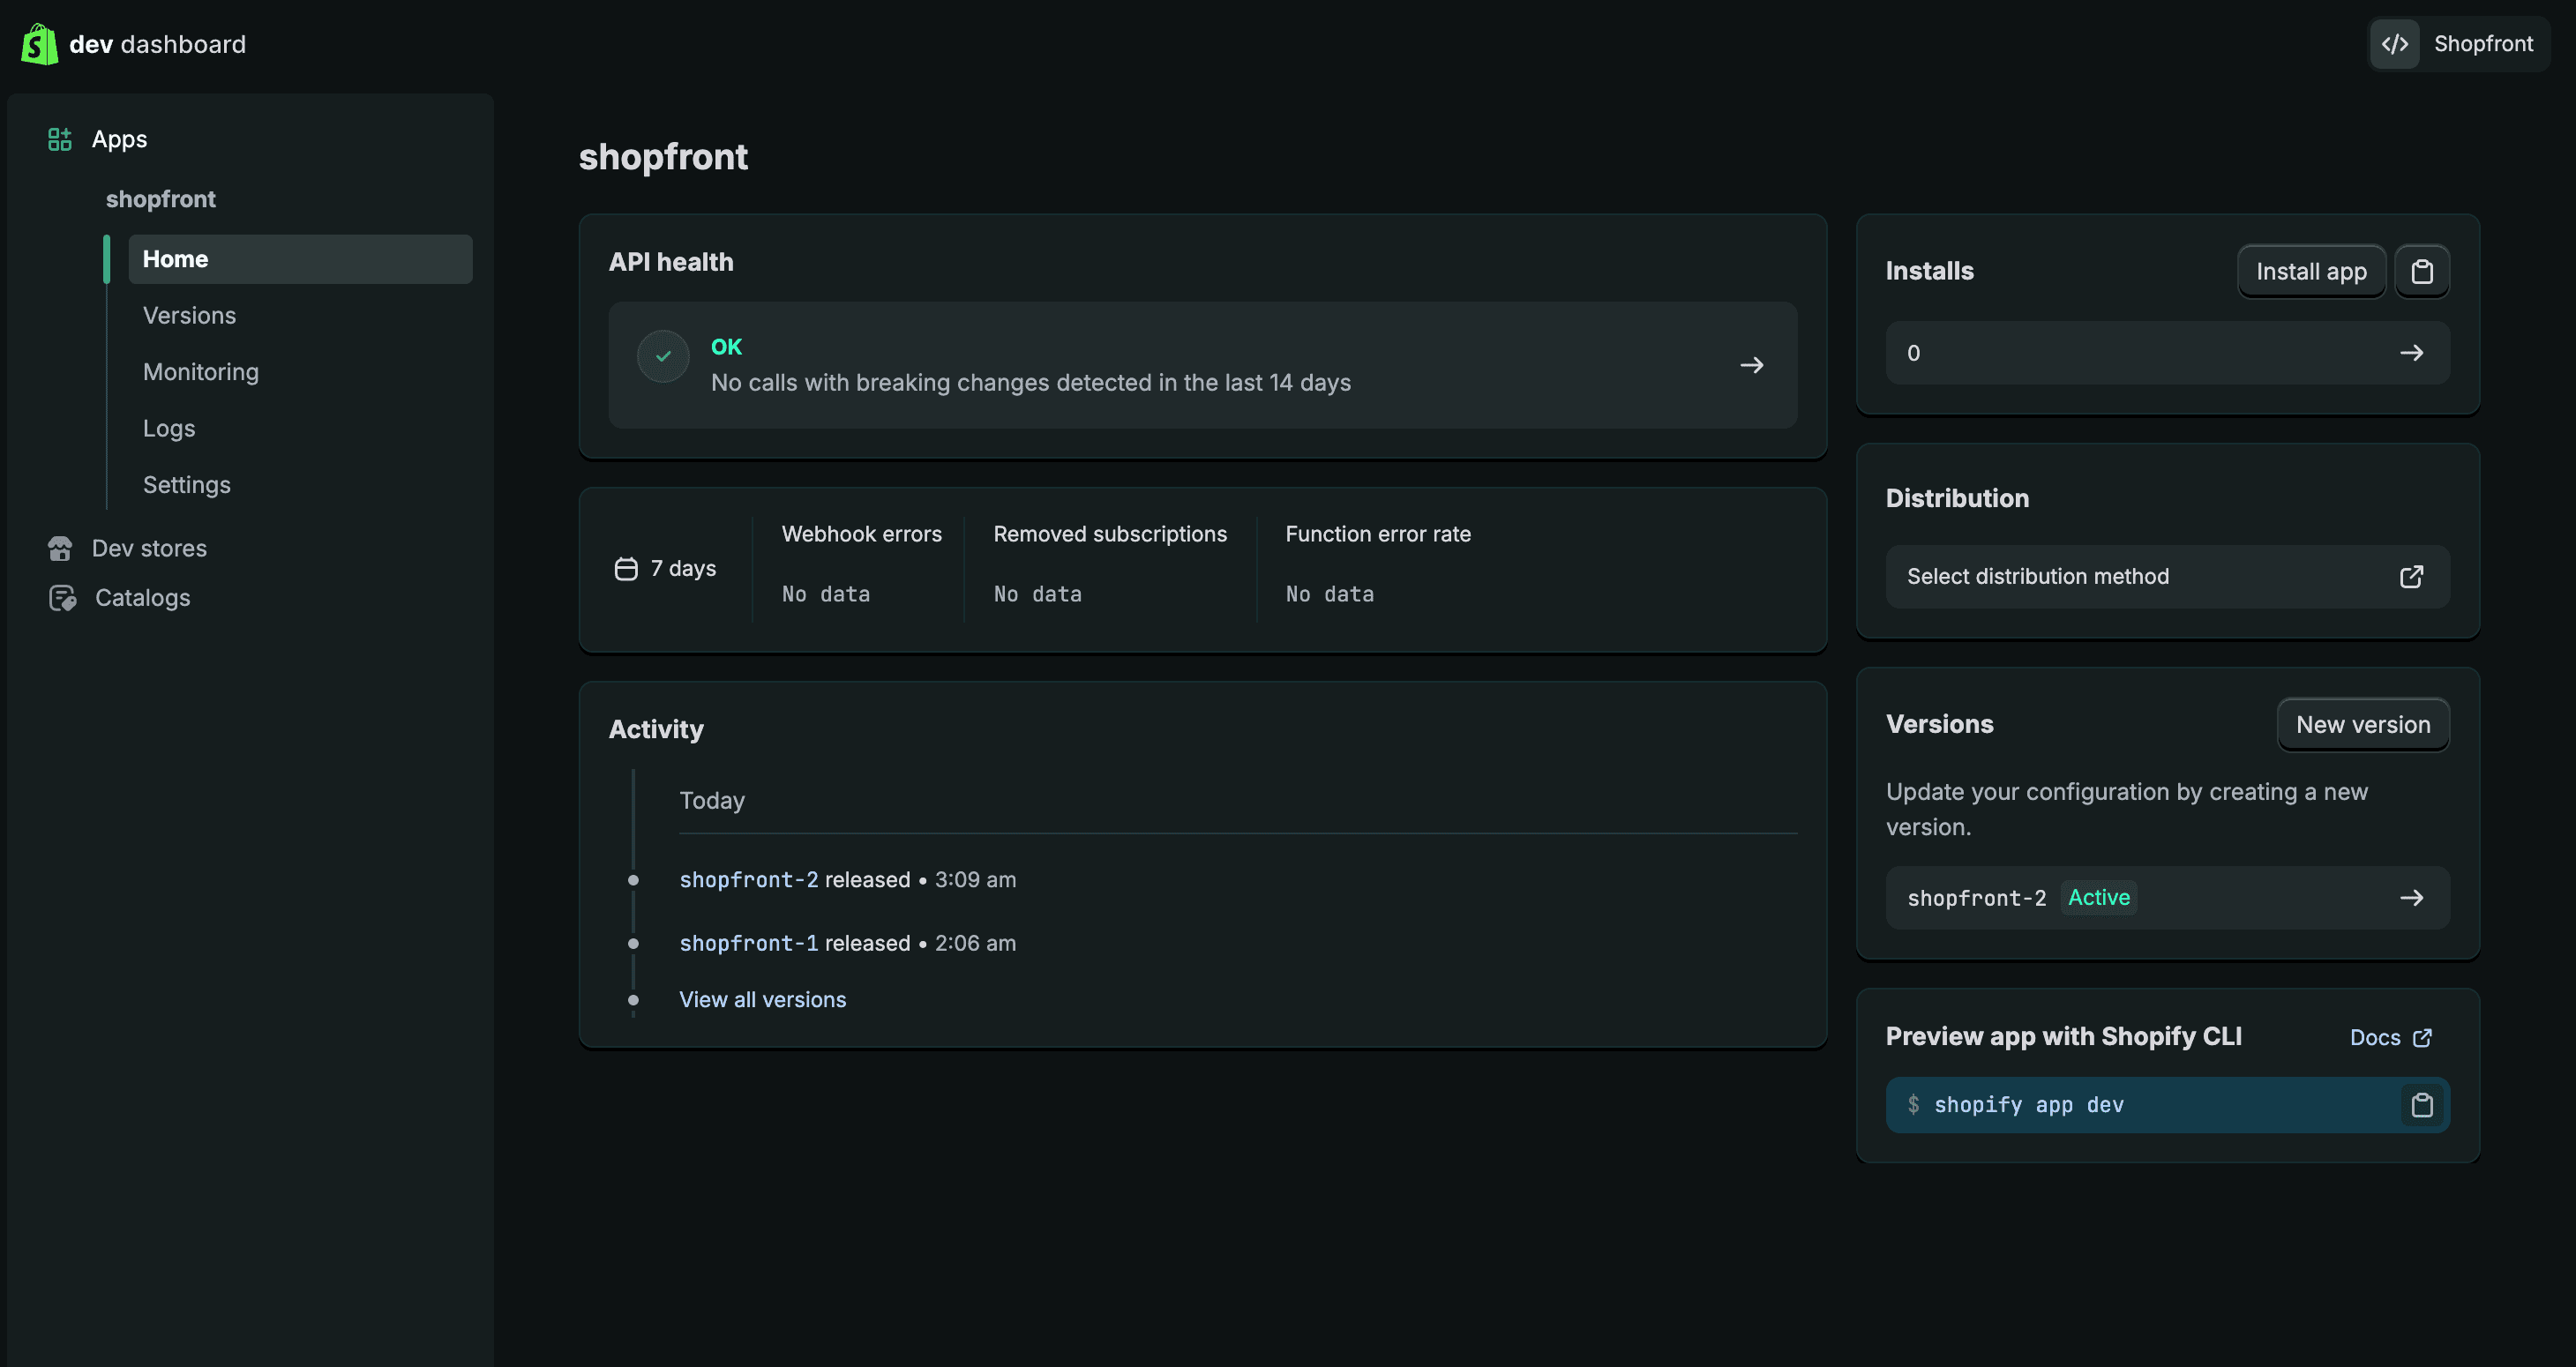
The app's Home page
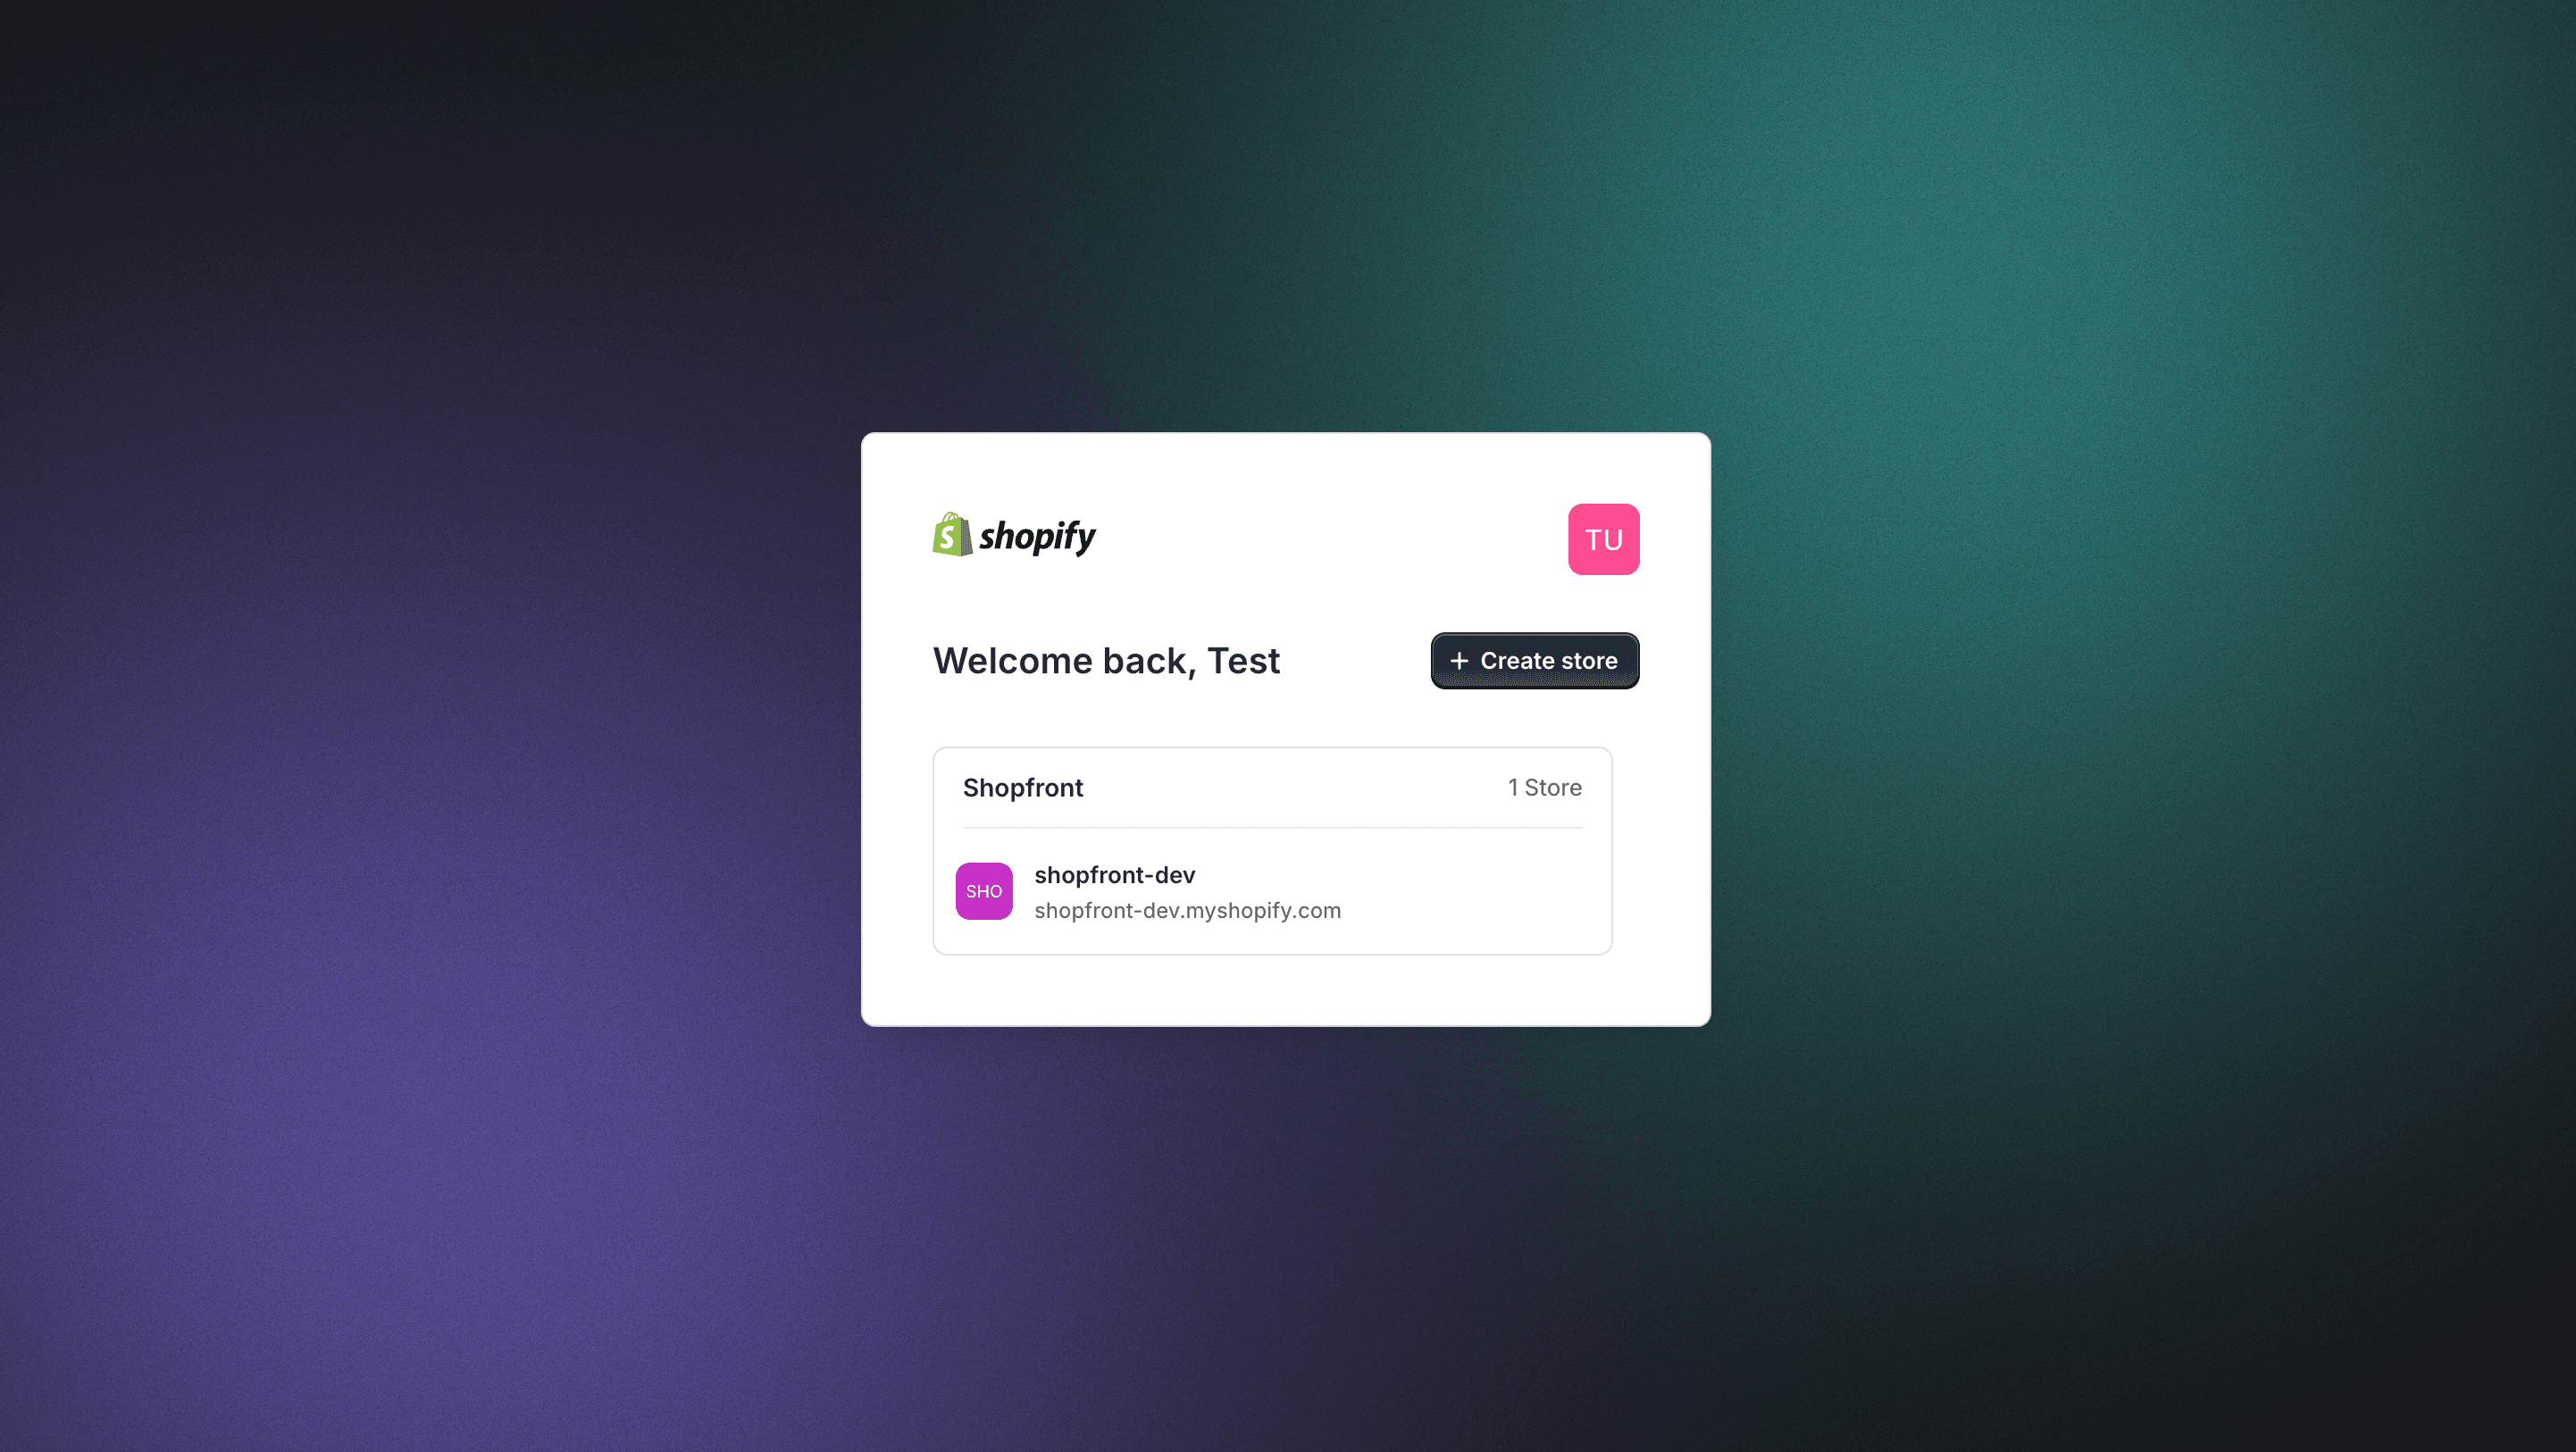
Install app
Choose your store. Shopify returns you to your store admin, and the app appears under Apps in the sidebar.
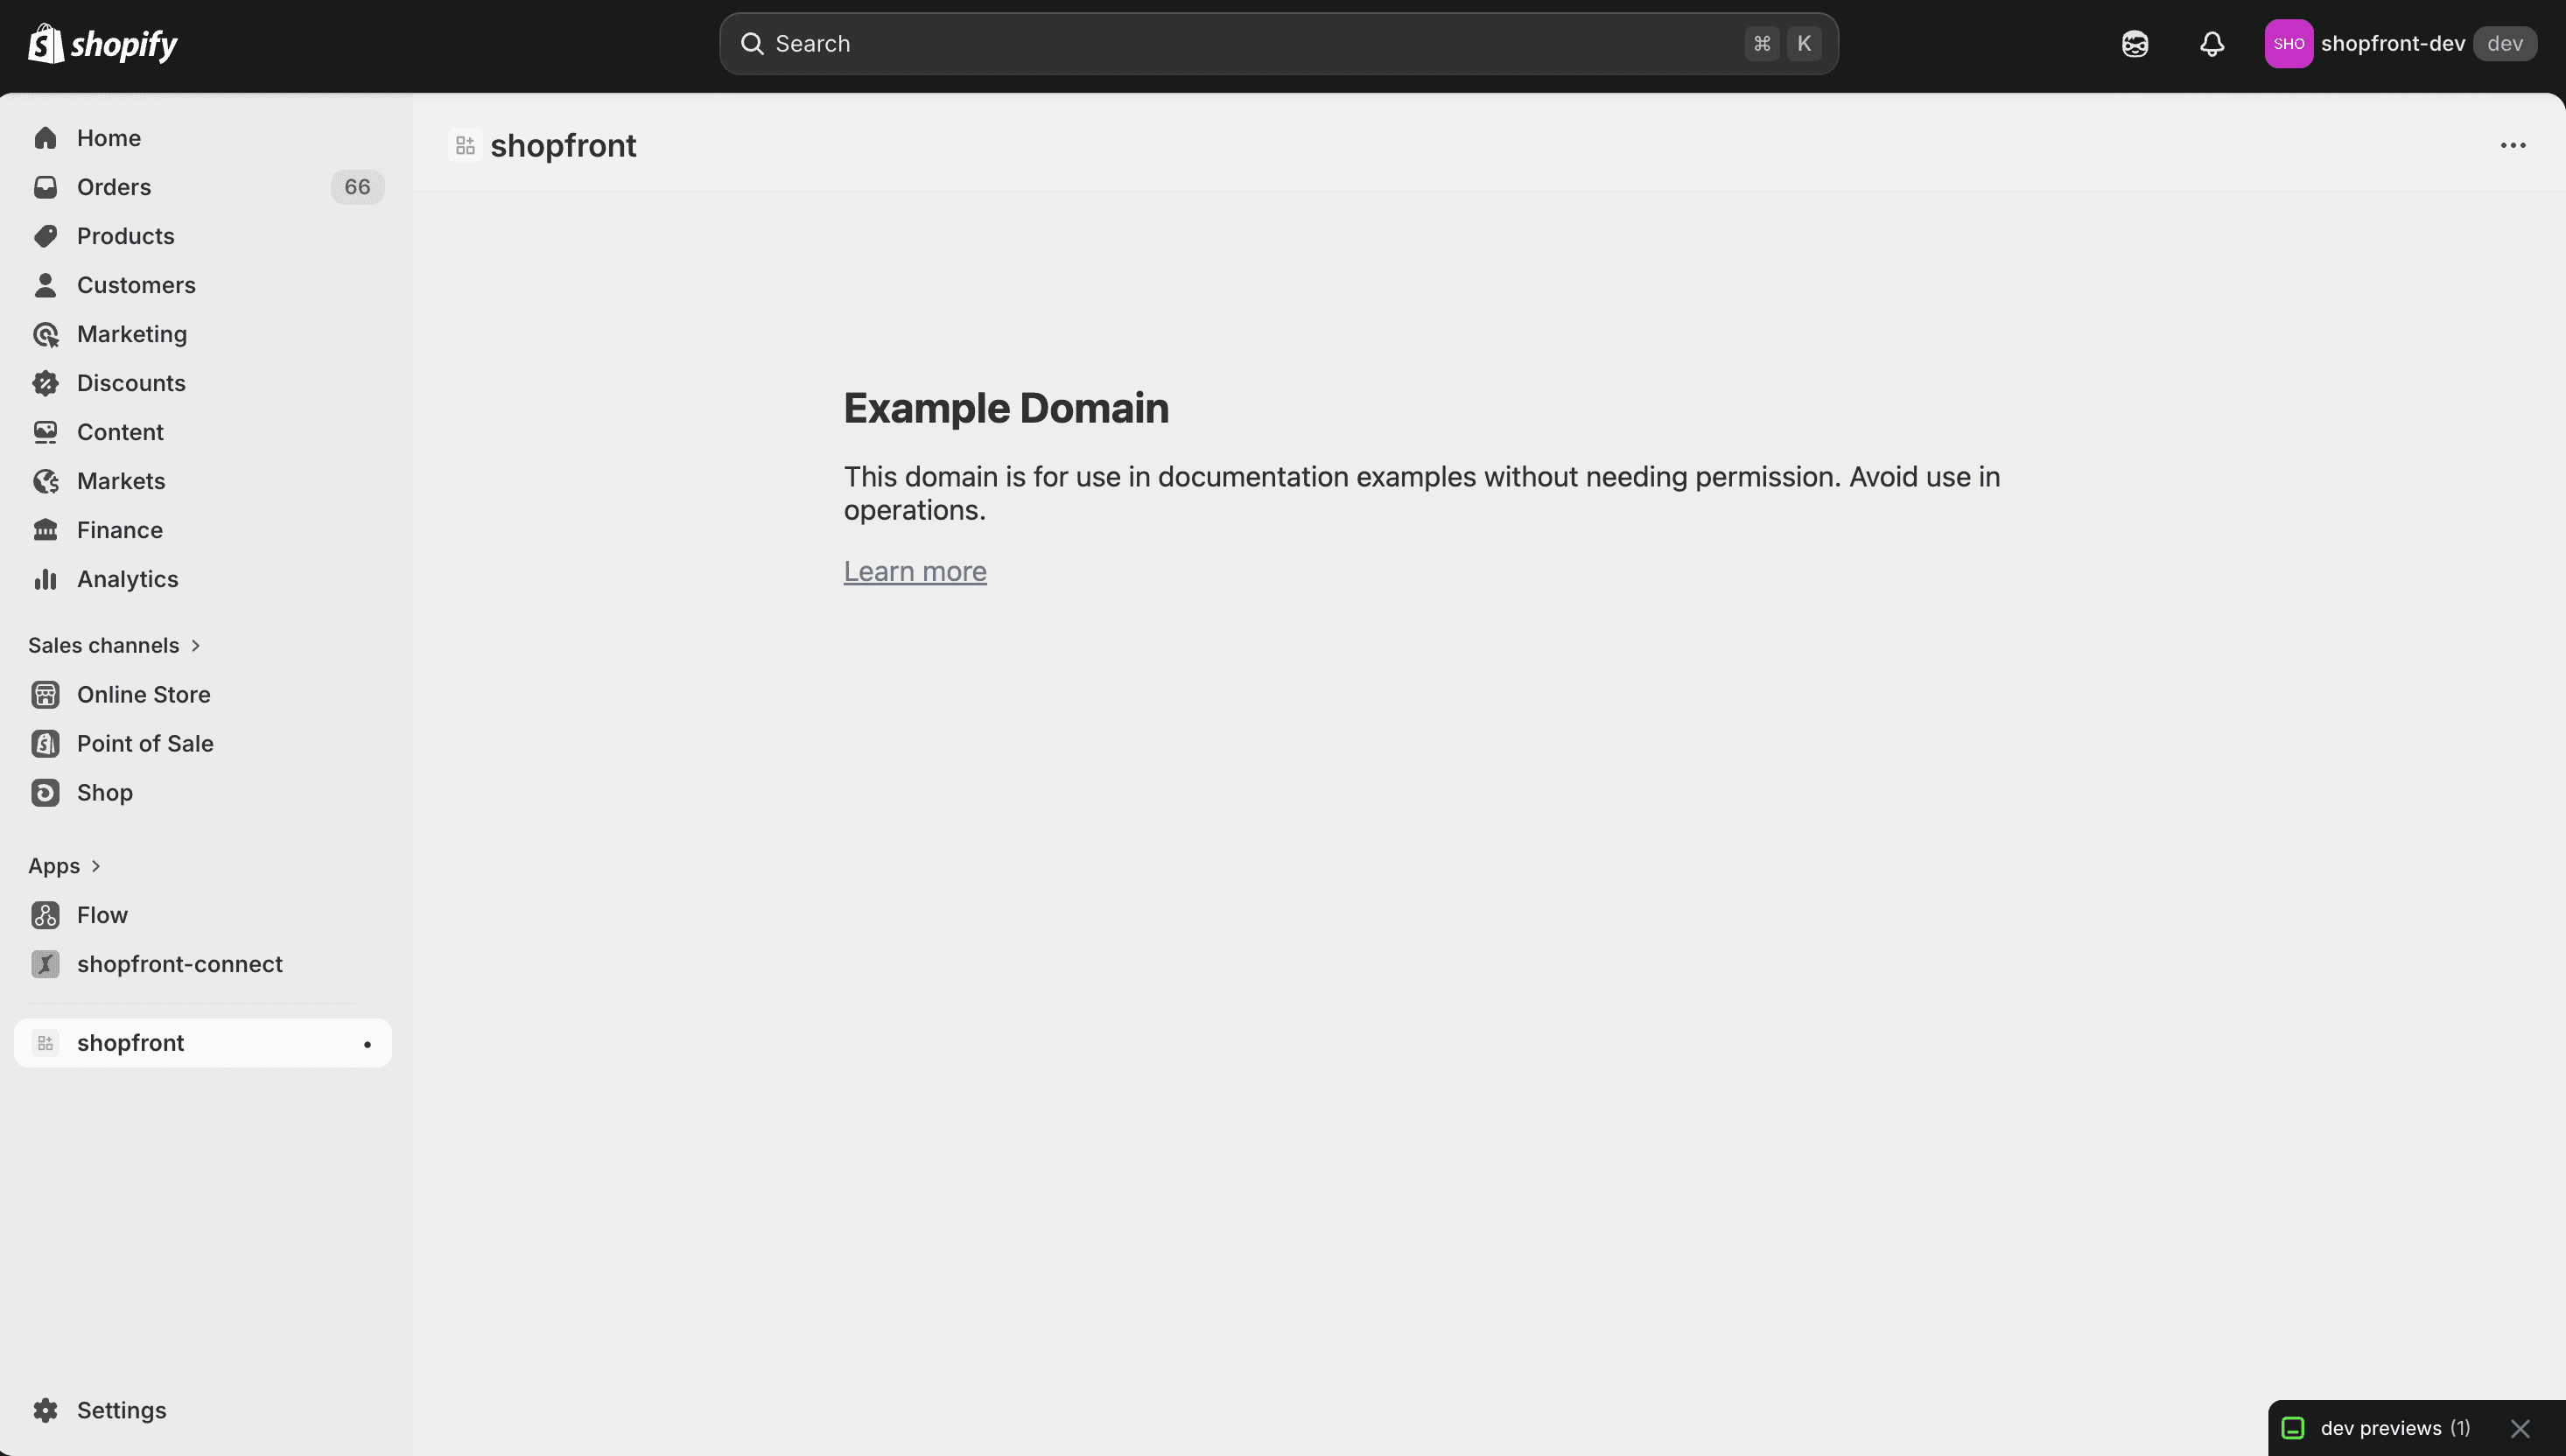
The installed app in your store admin
Copy the credentials. Return to the Dev Dashboard from Settings → Apps → Develop apps → Build apps in Dev Dashboard and open your app. Select Settings in the app's sidebar, then copy the Client ID and the Secret, which is your Client Secret.

Open your app in the Dev Dashboard
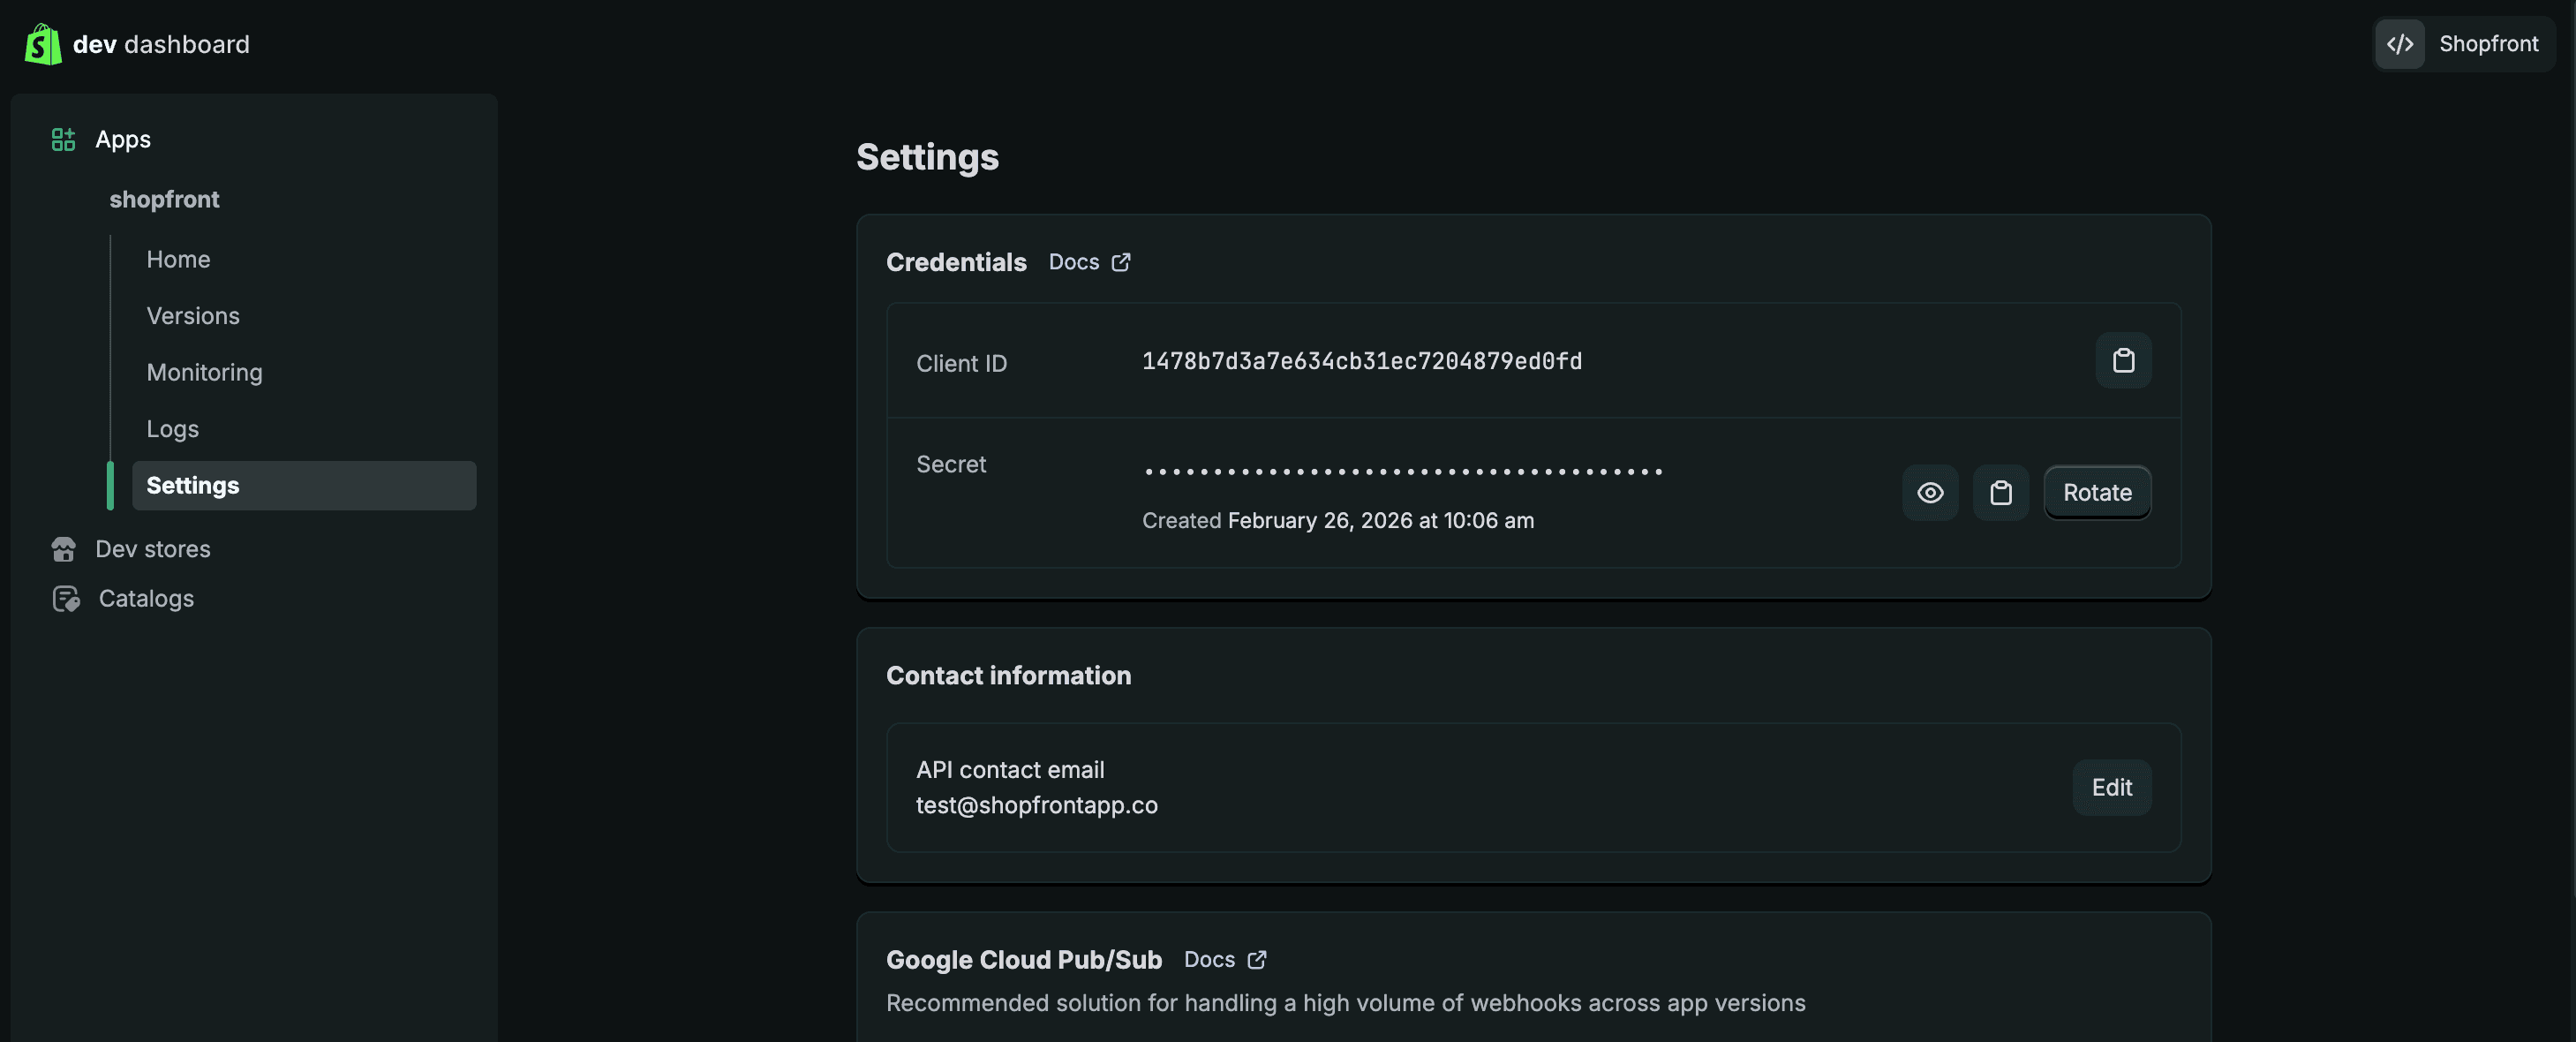
Client ID and Secret on the app's Settings page
Keep the Client Secret private
Do not include it in support messages or screenshots. If you lose it, copy it again from the app's Settings page.
How do I connect the store in Shopfront?
Open Settings → Marketplaces → Channels and select Connect on Shopify.
In Store Domain, enter your store name, .myshopify.com domain, Shopify admin URL or store URL. Paste the Client ID and Client Secret.
Select Test Connection. Shopfront finds the store's .myshopify.com domain and shows it in the result.
Check that the store shown is correct, then select Save Connection.
If Shopfront cannot find your store, enter the .myshopify.com domain shown in Shopify admin under Settings → Domains.
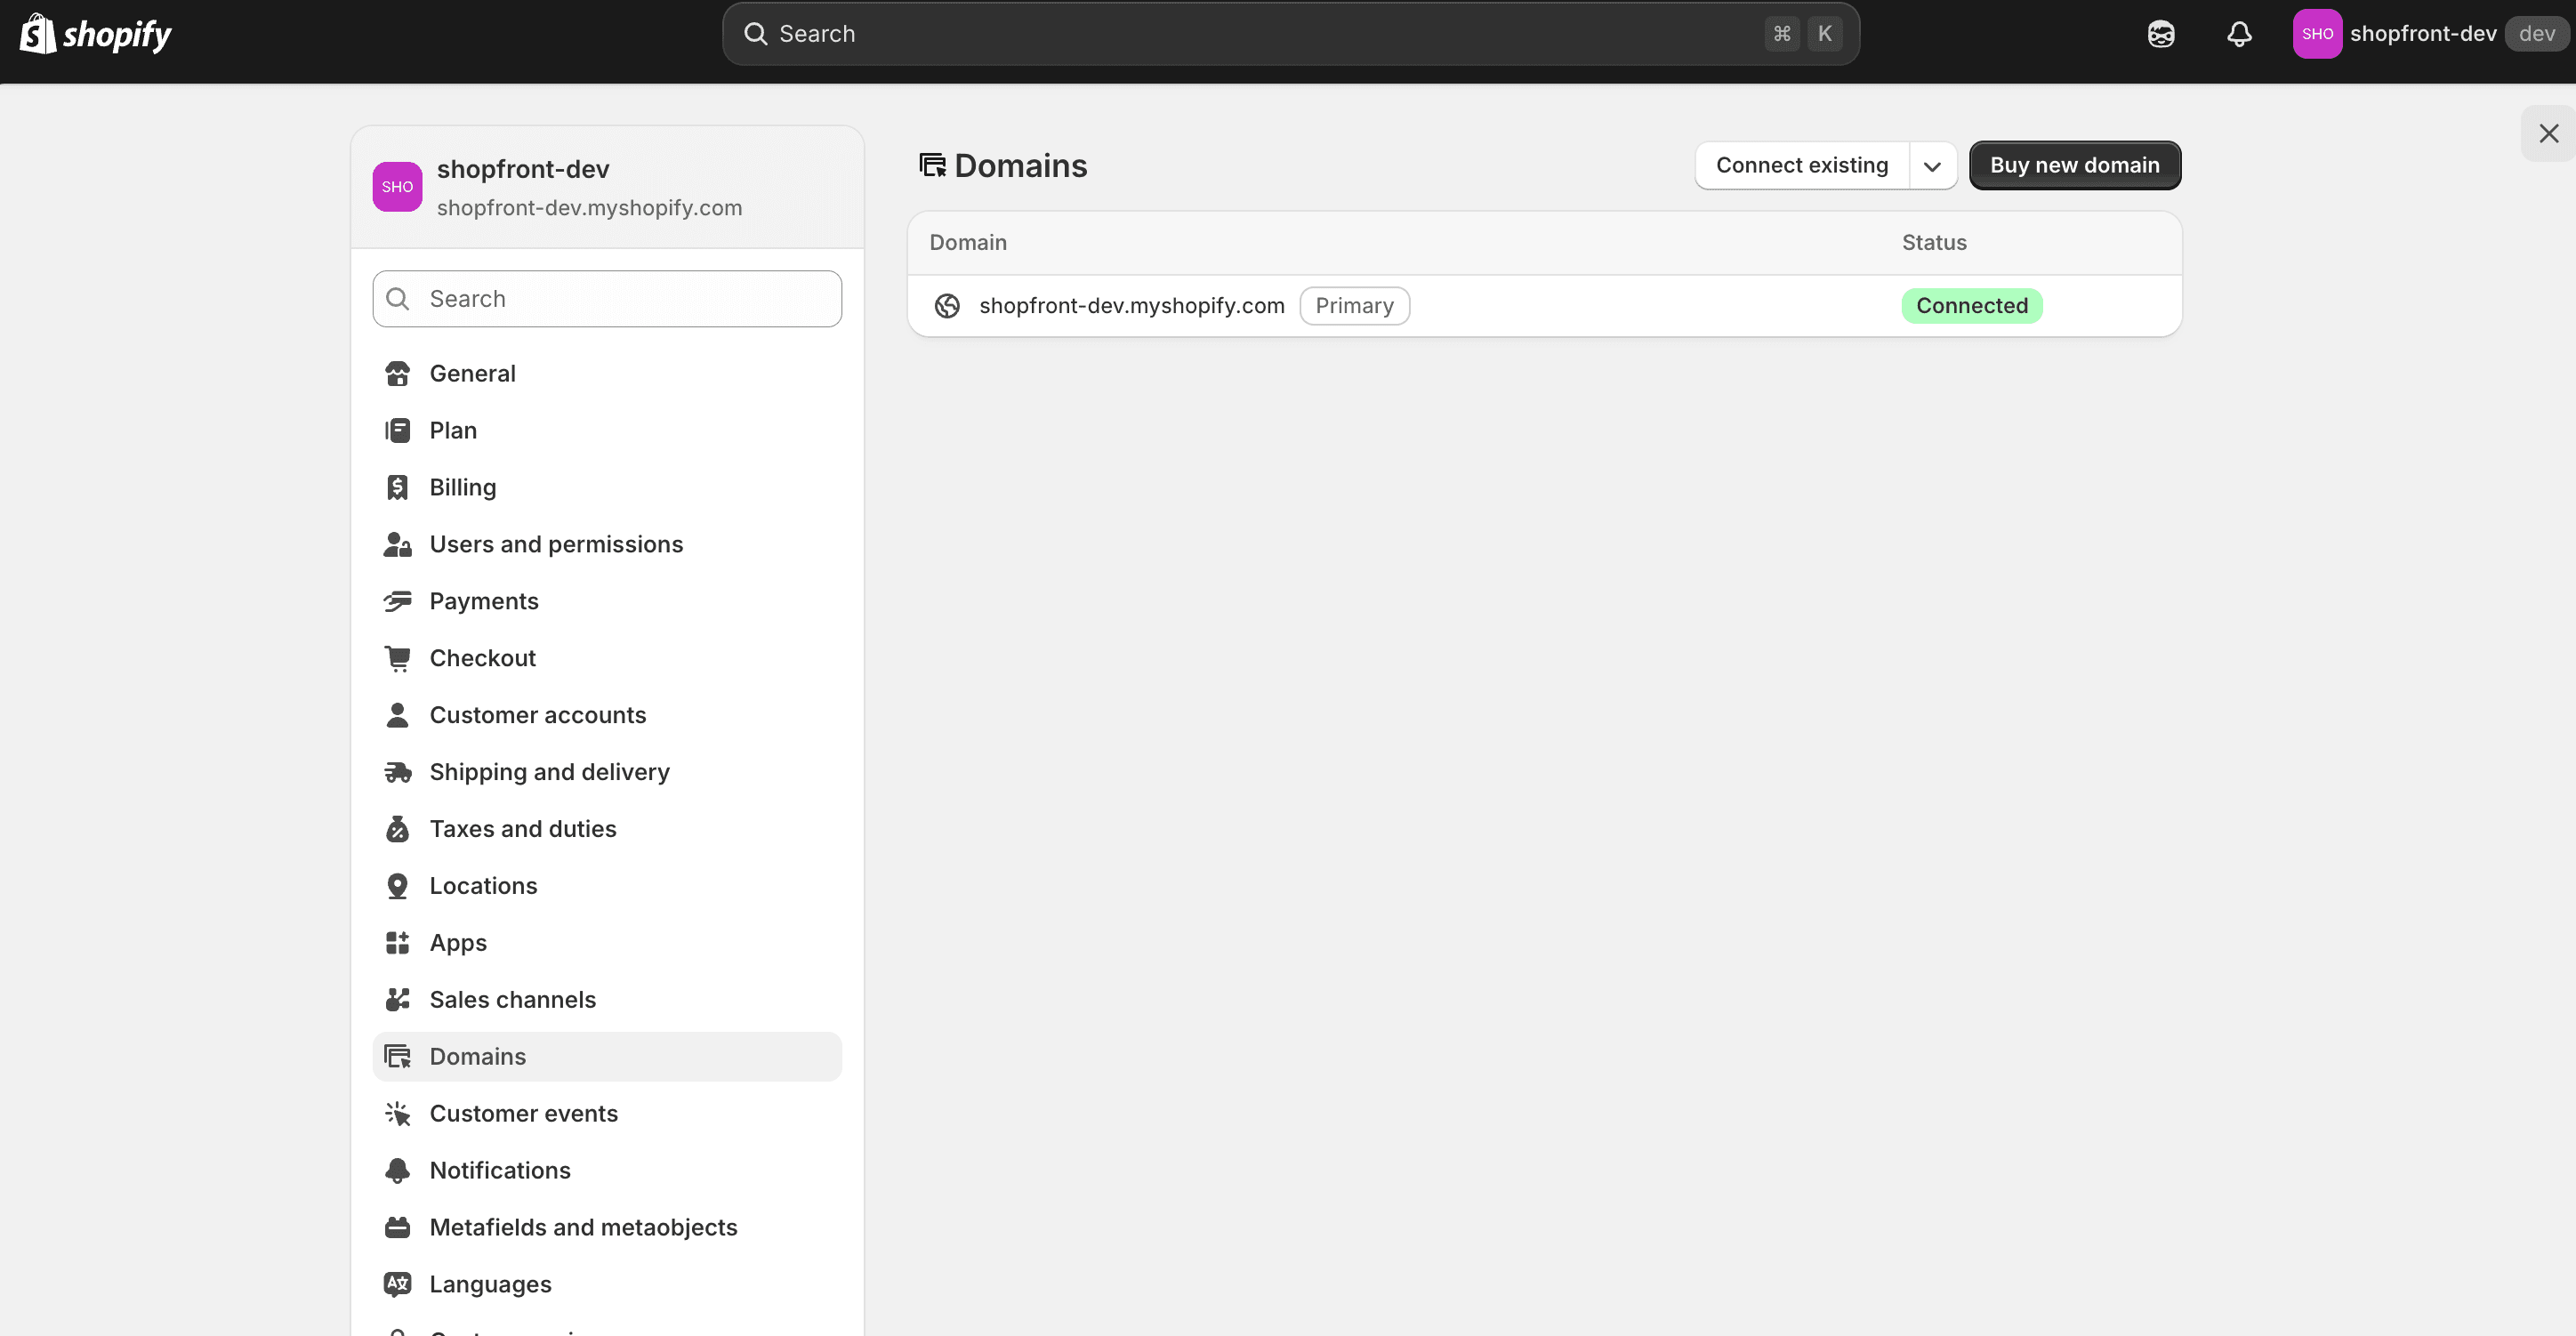
Your .myshopify.com domain under Settings → Domains
What can I manage on Shopify?
- Import your active and sold Shopify products from Imports.
- List products to Shopify and remove them with Delist.
- Track Shopify sales when the app has
read_orders.
Generated Shopify titles are limited to 255 characters, and descriptions use HTML. Shopify offers do not appear in Offers.
What does Listing-only mode mean?
Listing-only mode
If the test result shows Listing-only mode, the app does not have read_orders. You can list and delist on Shopify, but Shopfront does not track Shopify sales or delist sold items from your other channels. To turn these on, add read_orders to the app, release a new version and reconnect in Shopfront.
What happens when an item sells on Shopify?
With read_orders, Shopify sends each order to Shopfront by webhook. Shopfront records the sale and, if Cross-Channel Delisting is on, delists the item from your other connected channels. See Sales Detection.
What happens when Shopfront delists a Shopify product?
Shopfront archives the existing Shopify product, so the product and its details stay in Shopify. When you relist it, Shopfront restores the product's previous status and sales-channel settings, provided it captured those settings and the product has stock available.
A connection without write_publications can still archive products, but Shopfront cannot capture their sales-channel settings, and reconnecting cannot recover them. Shopfront does not relist those products automatically. Review each one in Shopify and restore it only if it is still for sale. Sold stock must stay unavailable.
How do I add write_publications to an existing connection?
Shopfront reports missing publication access when a delist or relist needs it. To fix it:
- Open your app in the Shopify Dev Dashboard and create a new version with
write_publicationsenabled under Access. This scope includesread_publications. - Release the version and approve the updated access for your store if Shopify asks. For an app in your own organisation, Shopify approves the change when you release the version.
- In Shopfront, open Settings → Marketplaces → Channels and select Reconnect on Shopify. Enter the credentials for the same store, then select Test Connection and Save Connection.
Scope changes take effect in Shopfront only after you reconnect.
How do I move from a legacy API token?
A connection made with a legacy Admin API token cannot verify the orders Shopify sends, so its orders do not reach Shopfront. Get the app's Client ID and Client Secret as described above, then select Reconnect on Shopify and enter them for the same store. The connection and its listings stay in place.
How do I connect a different store?
A workspace has one Shopify connection, and Reconnect only accepts the store that is already connected. To change stores, select Disconnect on Shopify, then connect the new store. Disconnecting deletes the connection and Shopfront's records of its Shopify listings; it does not change the products in your Shopify store.
Why does the connection fail?
| Message or problem | What to do |
|---|---|
| The app is not installed on the shop | Install the app on your store, as described above, then test again. |
| Invalid client credentials | Copy the Client ID and Secret again from the app's Settings page in the Dev Dashboard. |
| Missing required scopes | Add the scopes listed in the result, release a new version and test again. |
| The store cannot be found | Enter the .myshopify.com domain from Settings → Domains in Shopify admin. |
| Shopify is connected to another store | Disconnect the current store before connecting a different one. |
| Legacy Admin API access token | Paste the app's Client Secret, not a token that starts with shpat_. |
Need help? Email contact@shopfront.app.
Connect eBay
Connect eBay from Settings → Marketplaces → Channels by approving Shopfront's access to your eBay account; no extension is needed. When you connect, Shopfront can create any missing payment, returns or postage policy, then supports eBay imports, listing, delisting, offers and sales checks.
Connect Depop
Connect Depop from Settings → Marketplaces → Channels in desktop Chrome, with the Shopfront extension installed and your Depop account signed in. The extension is needed only to connect; Shopfront then handles listing, delisting, imports, offers and sales checks.